Lego my SPACESHIP!
Legos are awesome. I loved building the space Lego sets back in the 80s. I had the Galaxy Explorer, the Space Cruiser, the Space Command Center, the Moon Base, the Beta-1 Command Base, the Alpha-1 Rocket Base, and more. I used to put all my crater plates on a 3×5 board and build full on lunar cities with all my sets combined. I could literally spends weeks at a time building and detailing each one of these creations. I would look at this picture on the back of on of my old manuals and daydream about having some kind of sand-box or something to build a fake moon that looked just like this:
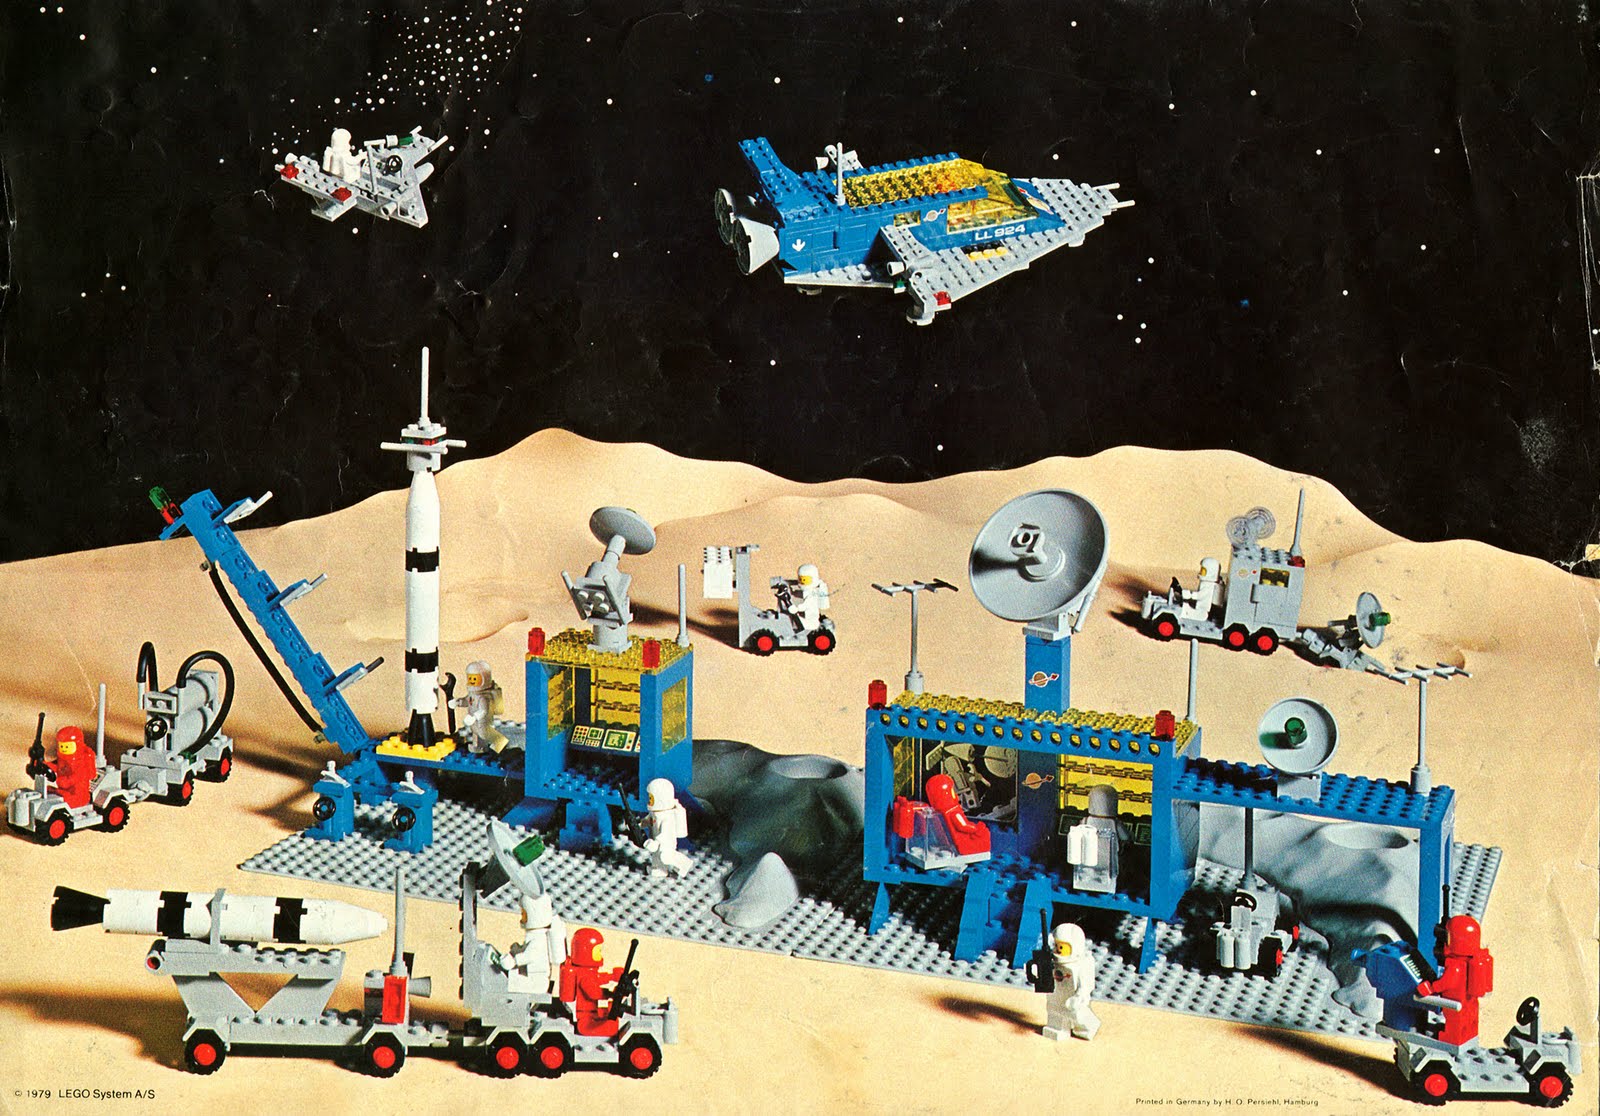
Lego Alpha Rocket Base, 1979. Source – Lego
Looking at it now really brings back some memories, wow! Seriously, have a tab open on ebay looking at vintage crater plates. I wish I had saved mine!
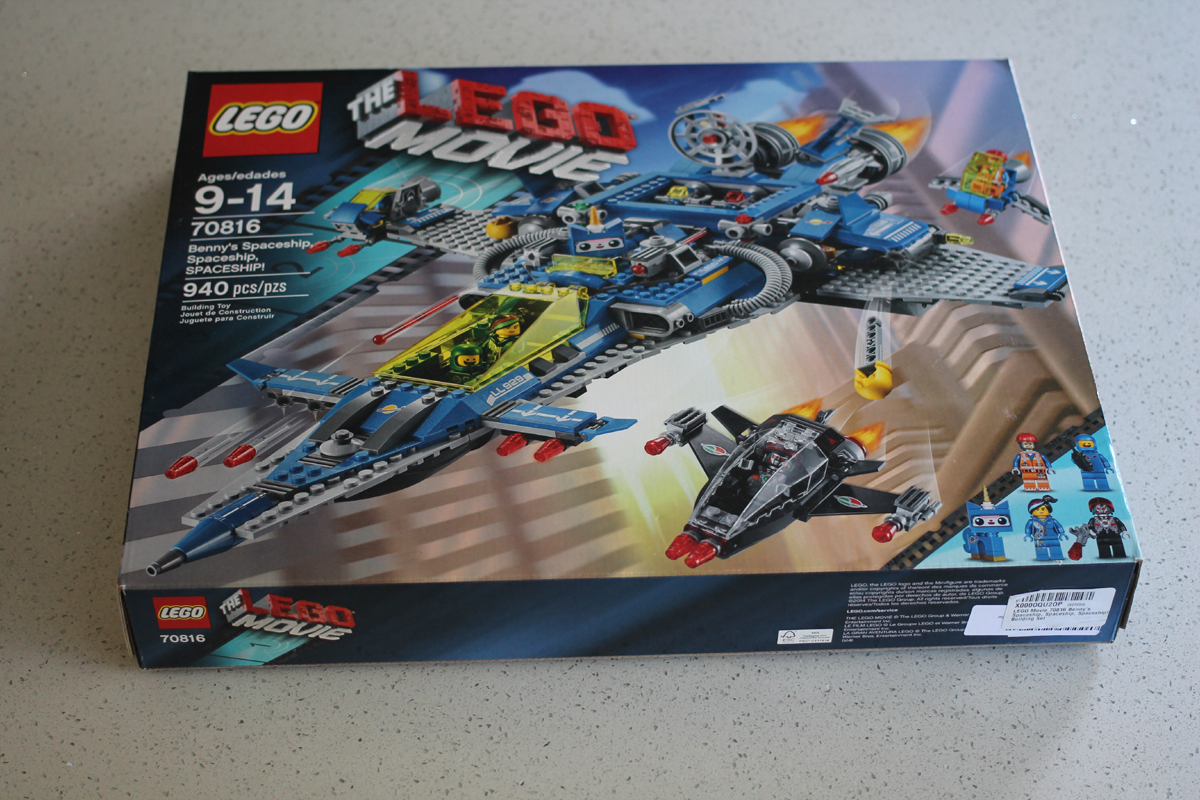
Moving on, so after watching the Lego Movie last Fall I saw Benny’s Spaceship at Amazon a few weeks later and that rush of youthful euphoric creativity hit me like a brick. ZOMG SPACESHIP!!! I have a few Star Wars Lego sets which are really cool but this was more old school with the all blue and grey brick colors and clear yellow canopy. So Christmas came around and I had that set at the top of my list. I felt like I was 11 years old again! My wife, being the awesome person she is, got the set for me. So I thought I would share my building experience with pictures mostly and some commentary.
Here we go:
The front of the box. This ship looks HUGE. Compared to the Galaxy Explorer from the 80s – it seems like 2x to 3x the size.
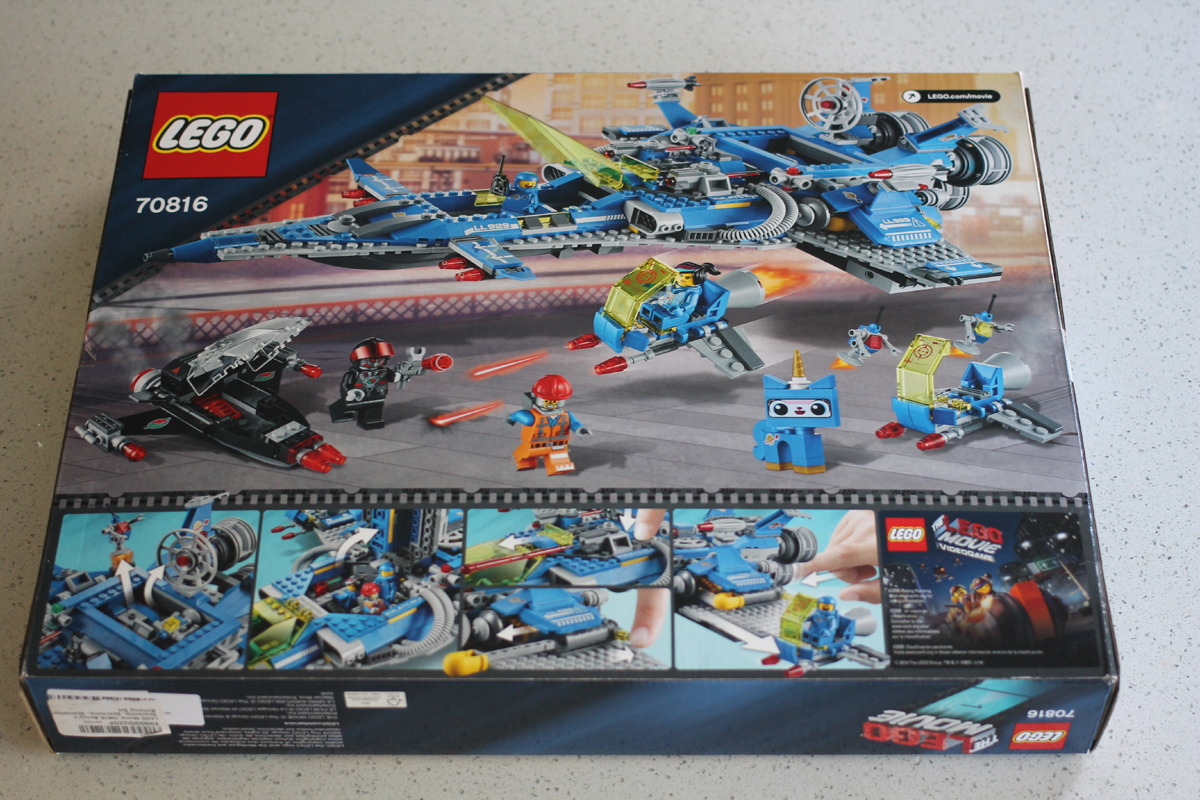
The back of the box – no surprises here. Some closeups of the ship details along the bottom.
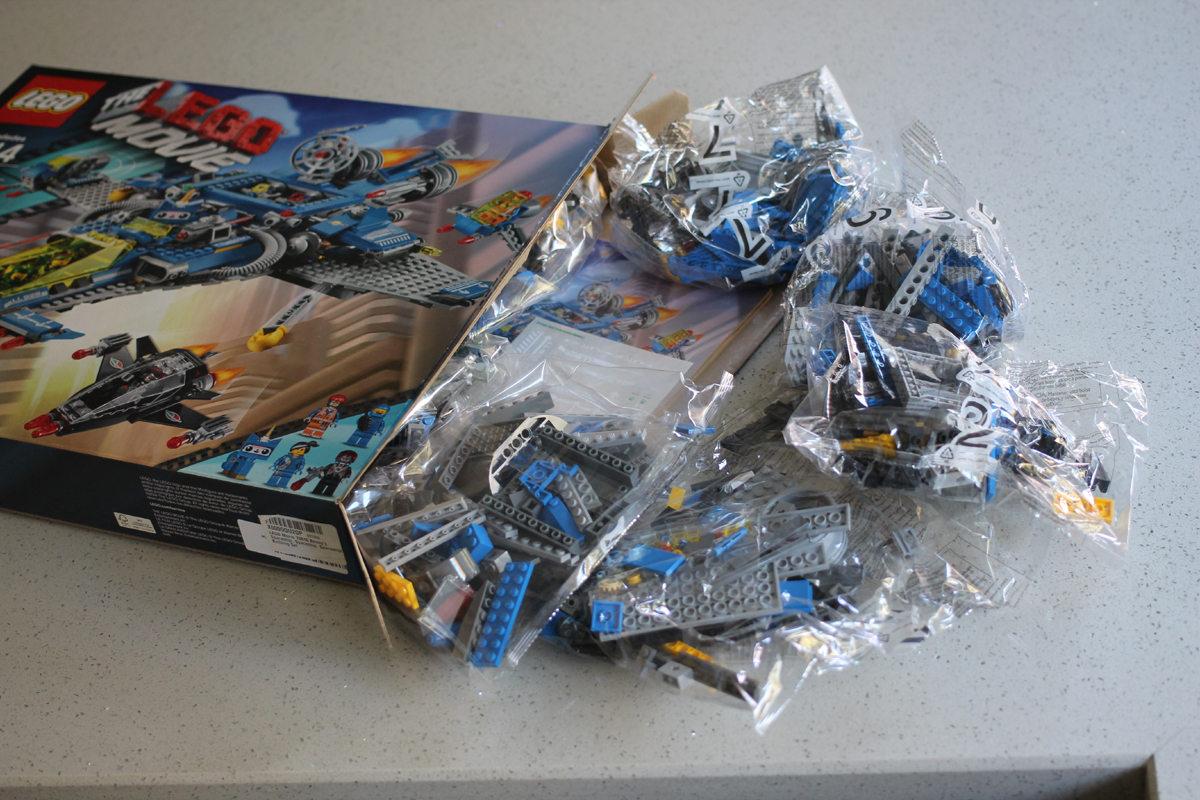
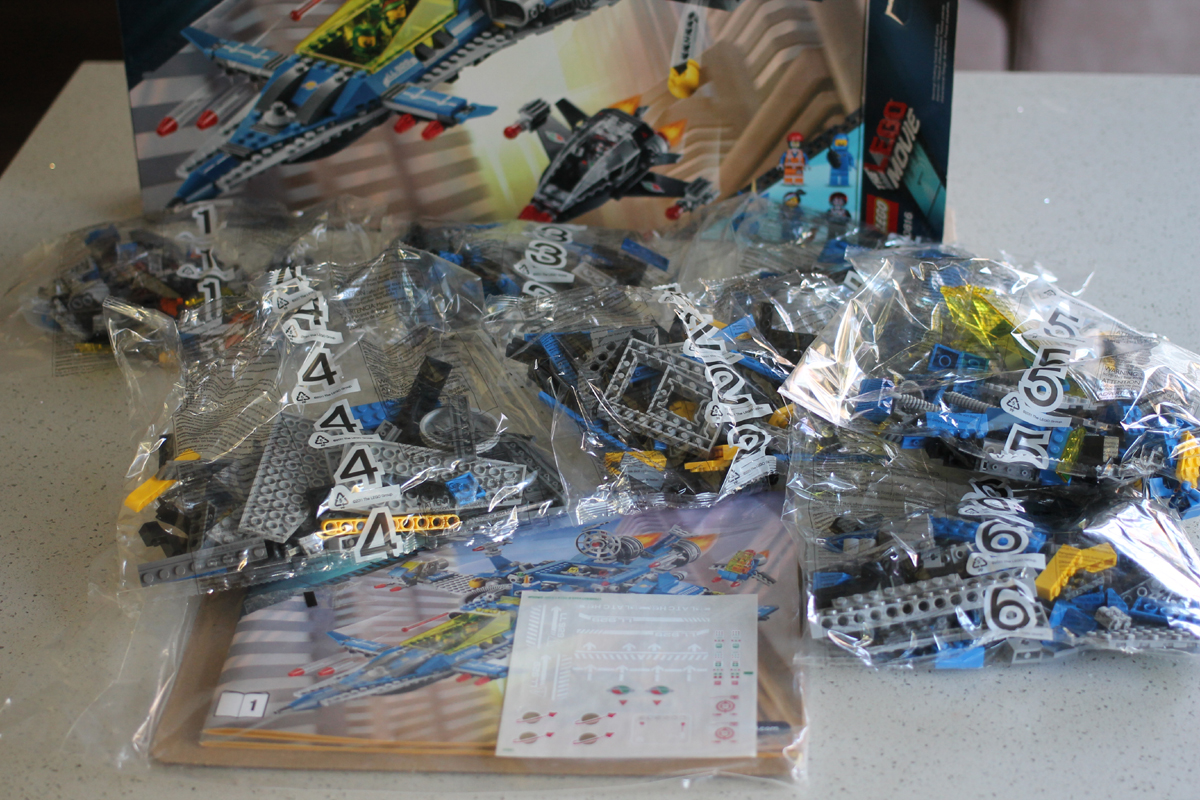
Finally getting into the box. Ahh the rush of nostalgia coming now, little bags of space Lego parts!!
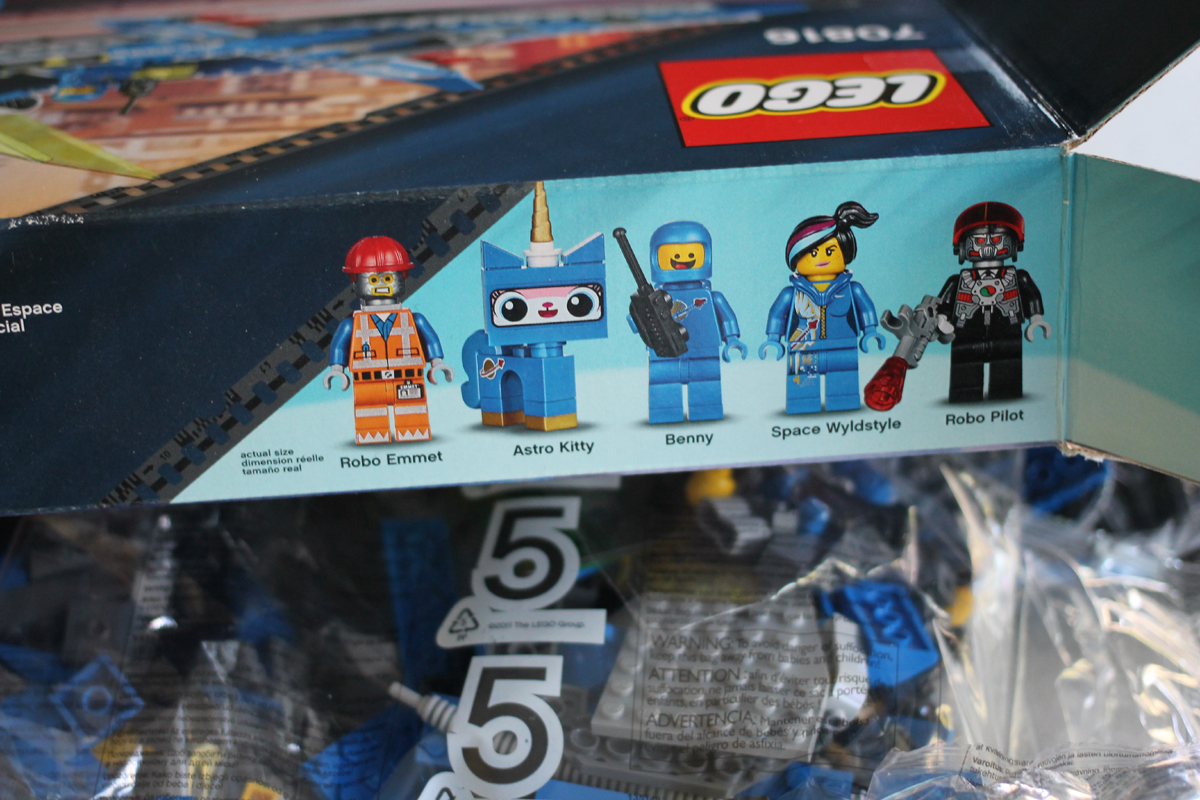
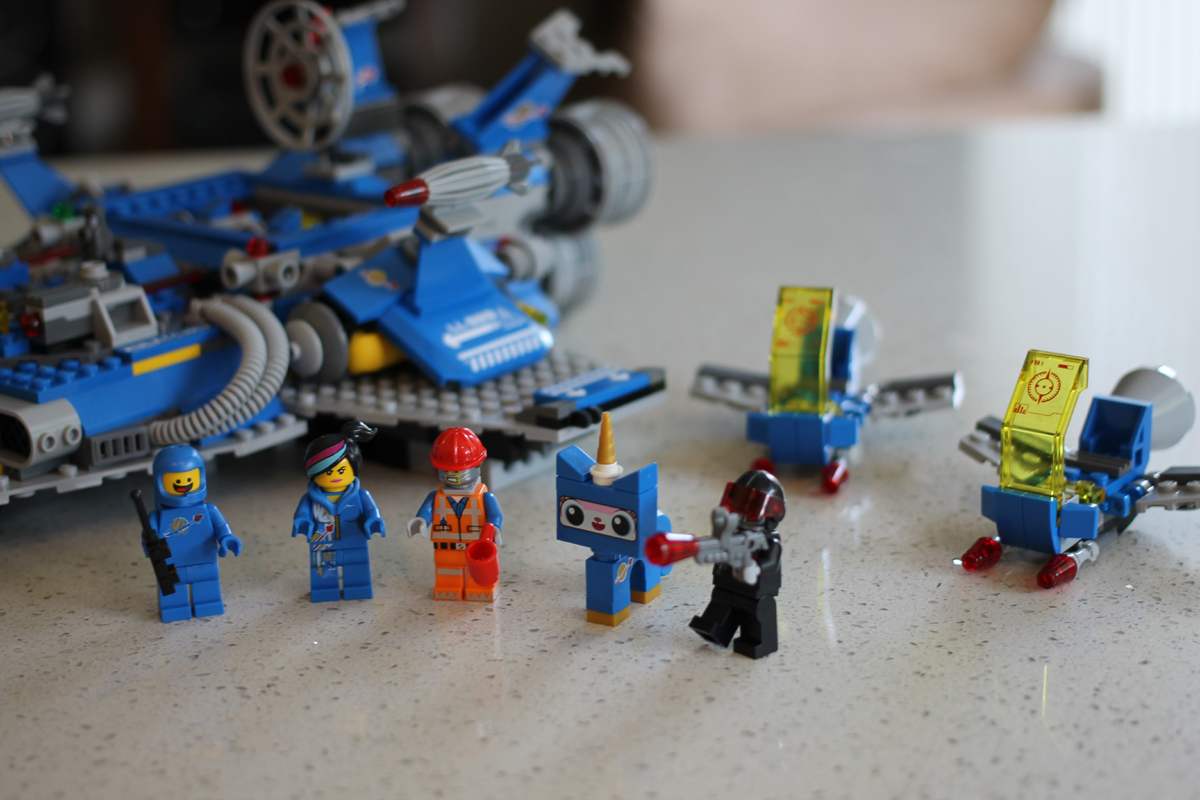
Looks like we get five figures with this set – all characters from The Lego Movie – again no surprise.
The manual is in two parts, there’s a sticker set, and all the little bags are numbered without too many parts in each. Very nice!
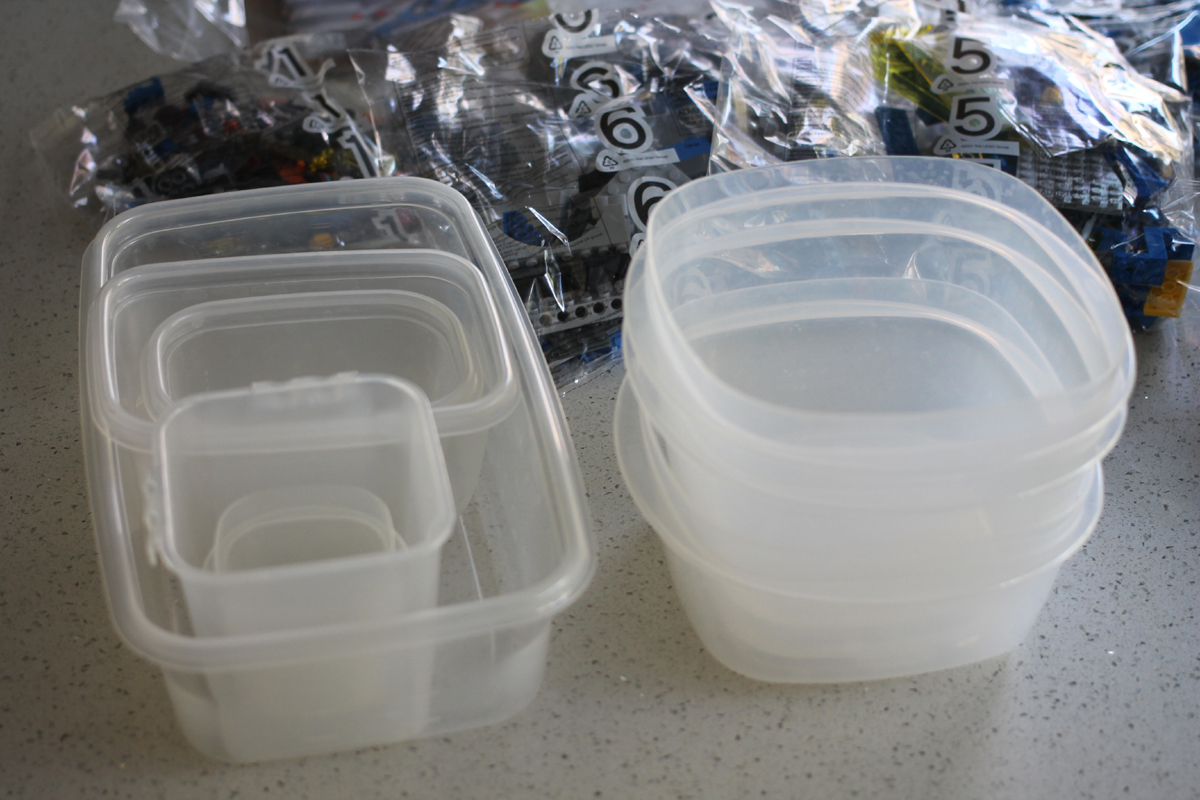
I like the plastic tub organization method for stray parts and bags I just want to open but keep all the parts in one accessible spot.
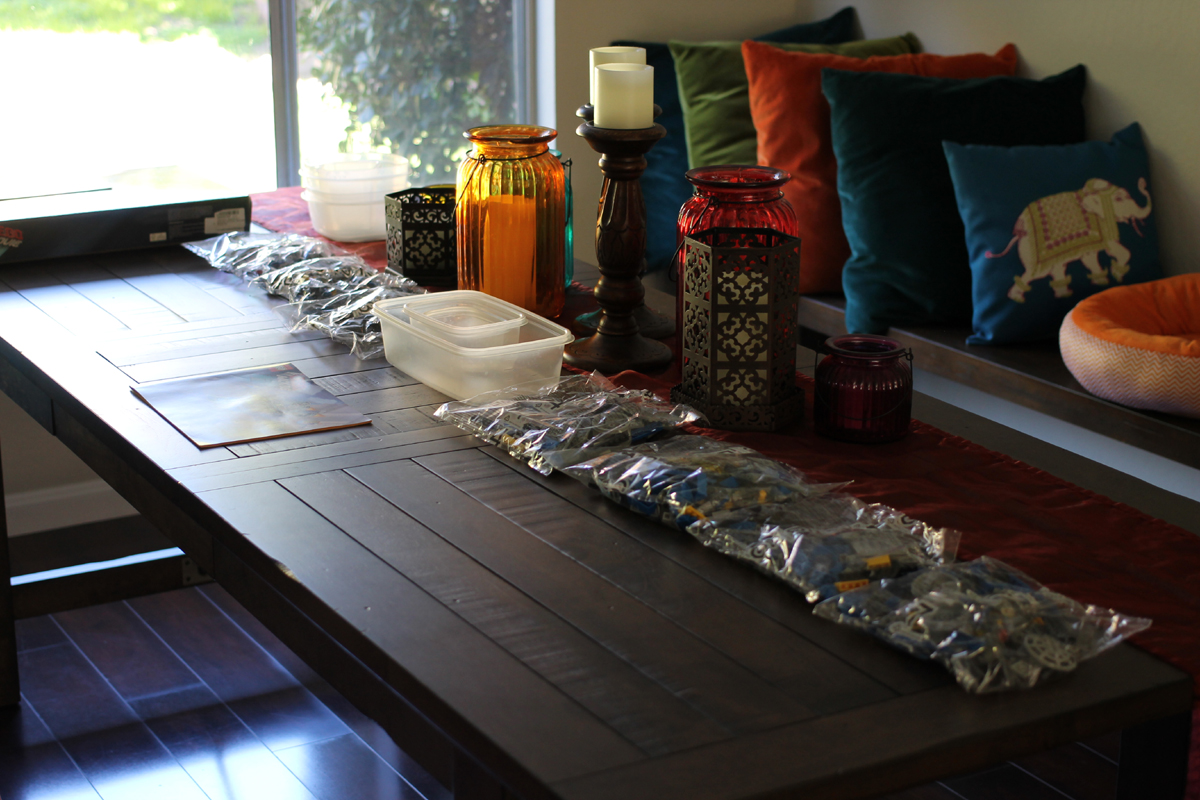
Aaaand a giant table for the assembly area – preferably near a TV so we can toss movies on in the background.
I opened bag #1 and out popped this guy, this would have come in handy about 35 years ago. It’s a tool to help get hard to reach and stubborn bricks off.
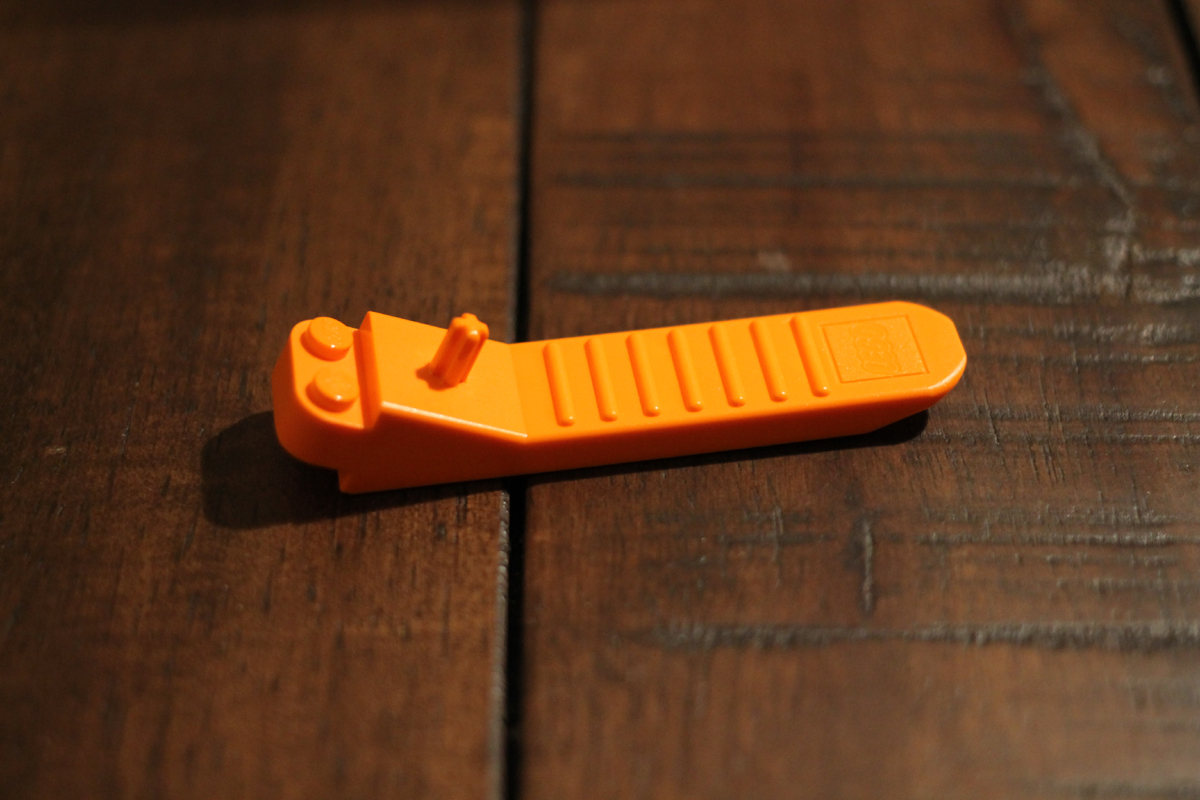
It really works too, I only had to loosen a couple of misplaced bricks but this really did the trick.
Each of the bags is like a chapter in a story of the build, you open it, and build until all the parts are gone (except for the extras they toss in with each bag – normally smaller easy to loose parts).
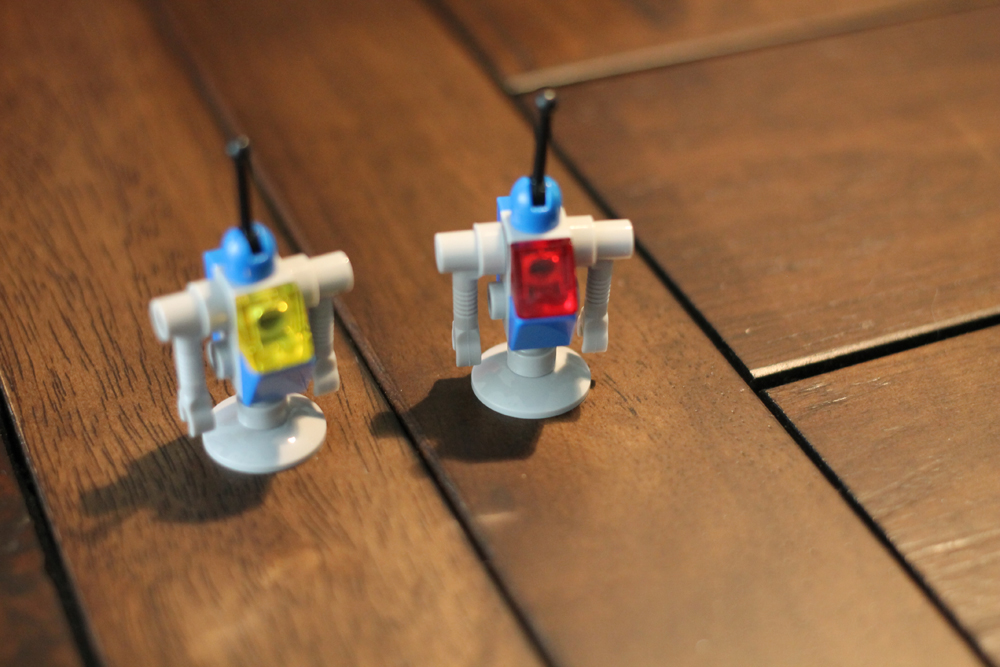
Bag #1 – Get the little stuff done first! Three smaller ships with three minifigures. Robot Emmet, Space Wyldstyle, and Robot Pilot.
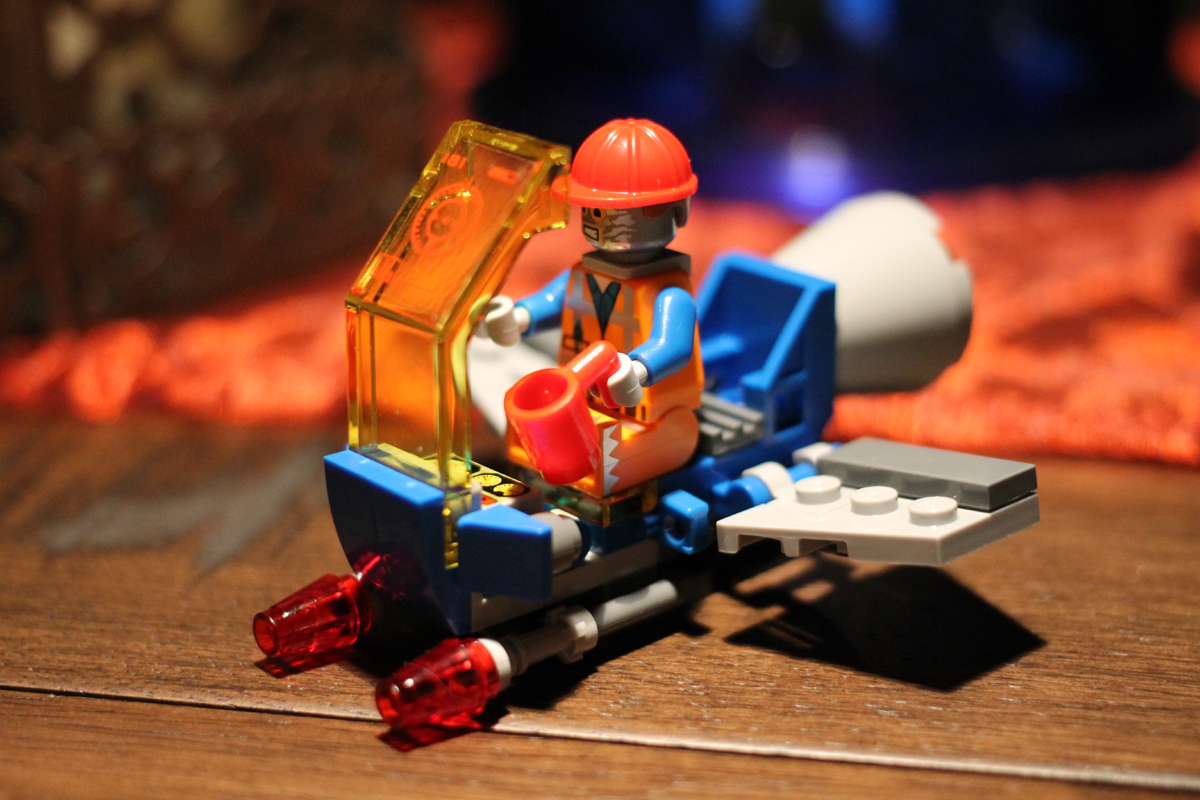
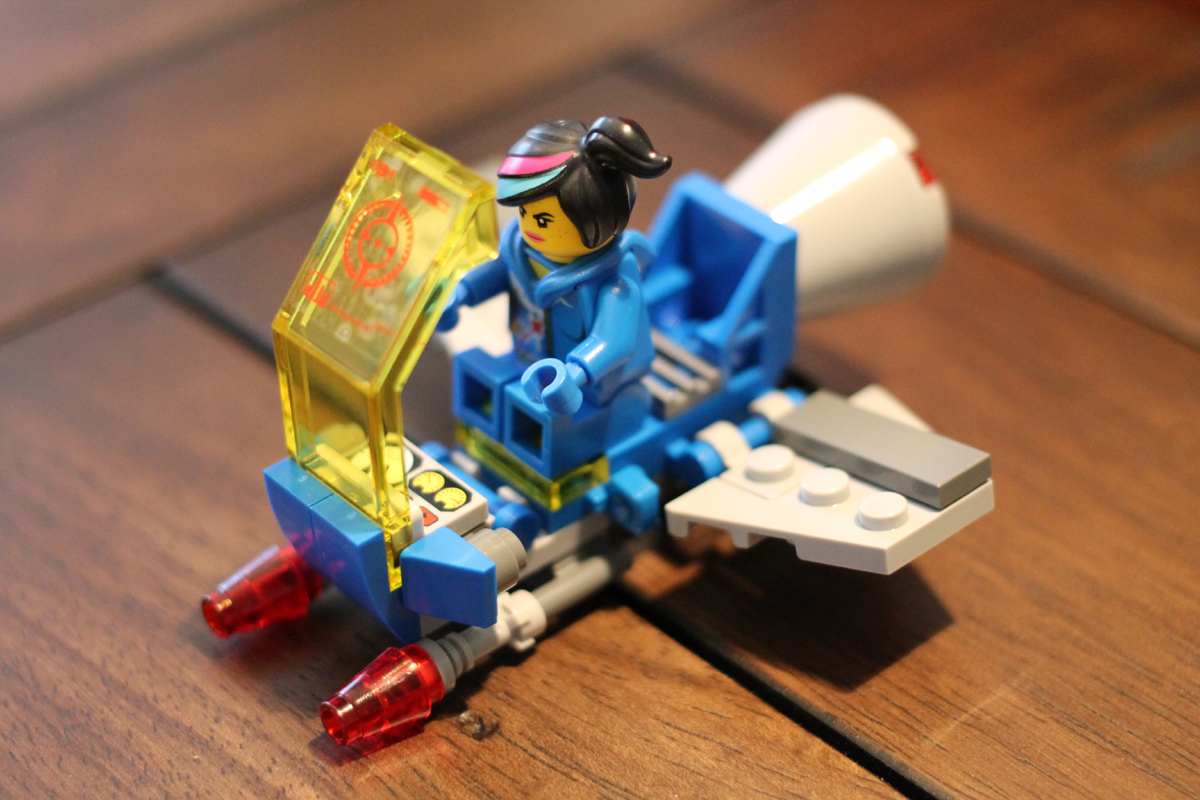
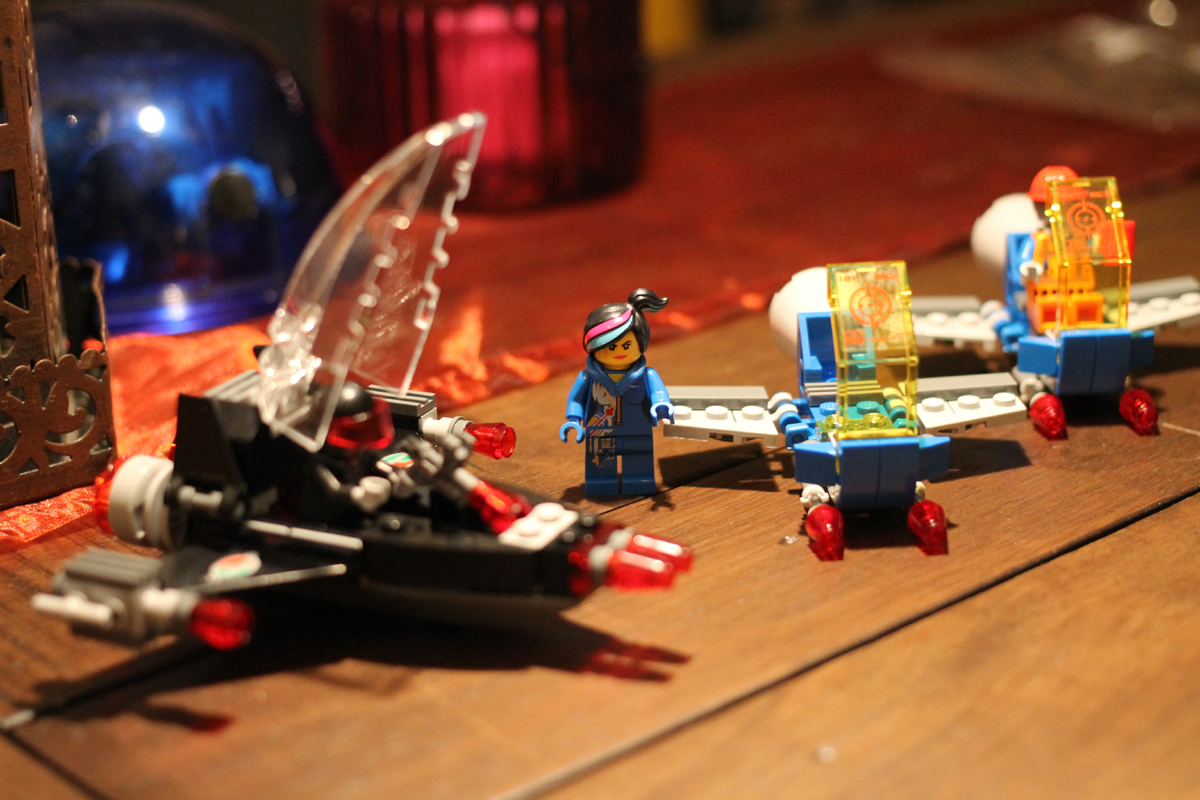
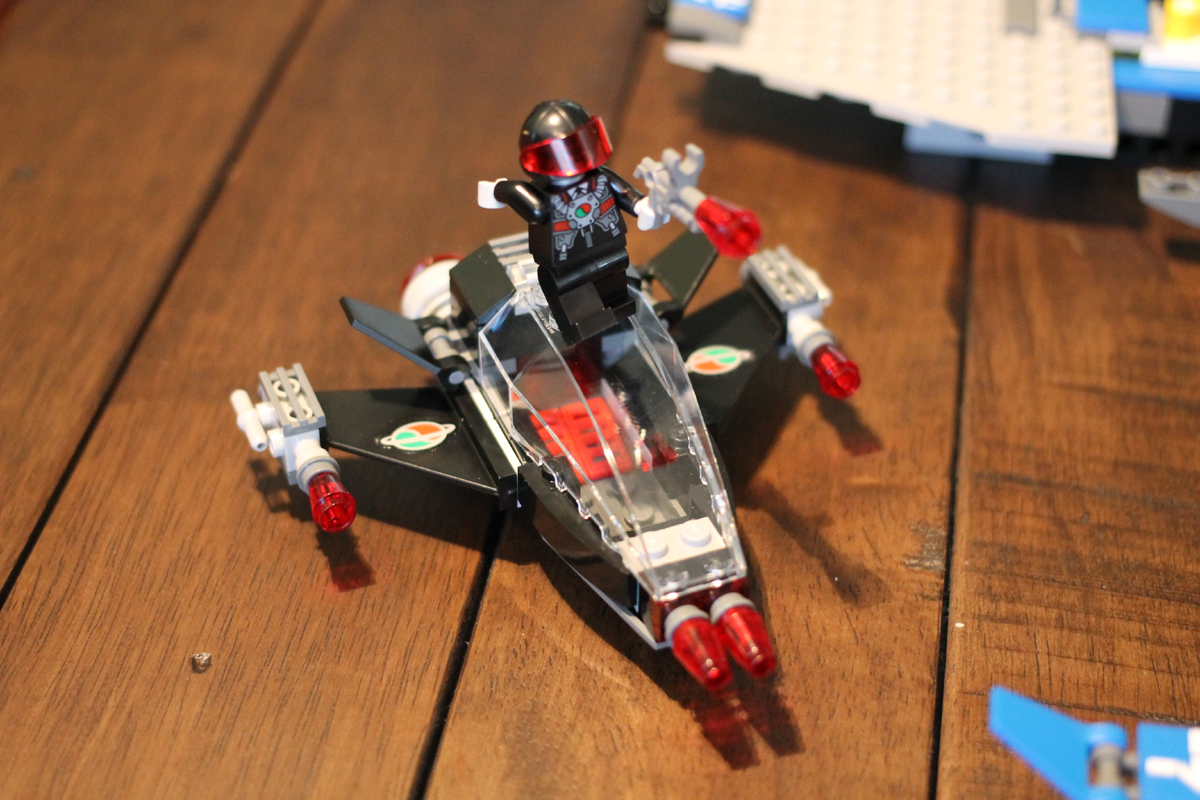
FUN! Even the detail on these smaller ships is wonderful. Ok, time to move on to the big boy…
Bag#2 – Spaceship spaceship SPACESHIP!!!! (everything is AWESOME… lol.. That song was a little annoying but kind of oddly catchy)
This is the bottom of the back end of the ship, not too exciting yet but I am having fun hunting down all the parts and putting them together. There’s a very strange yet wonderful satisfaction to it.
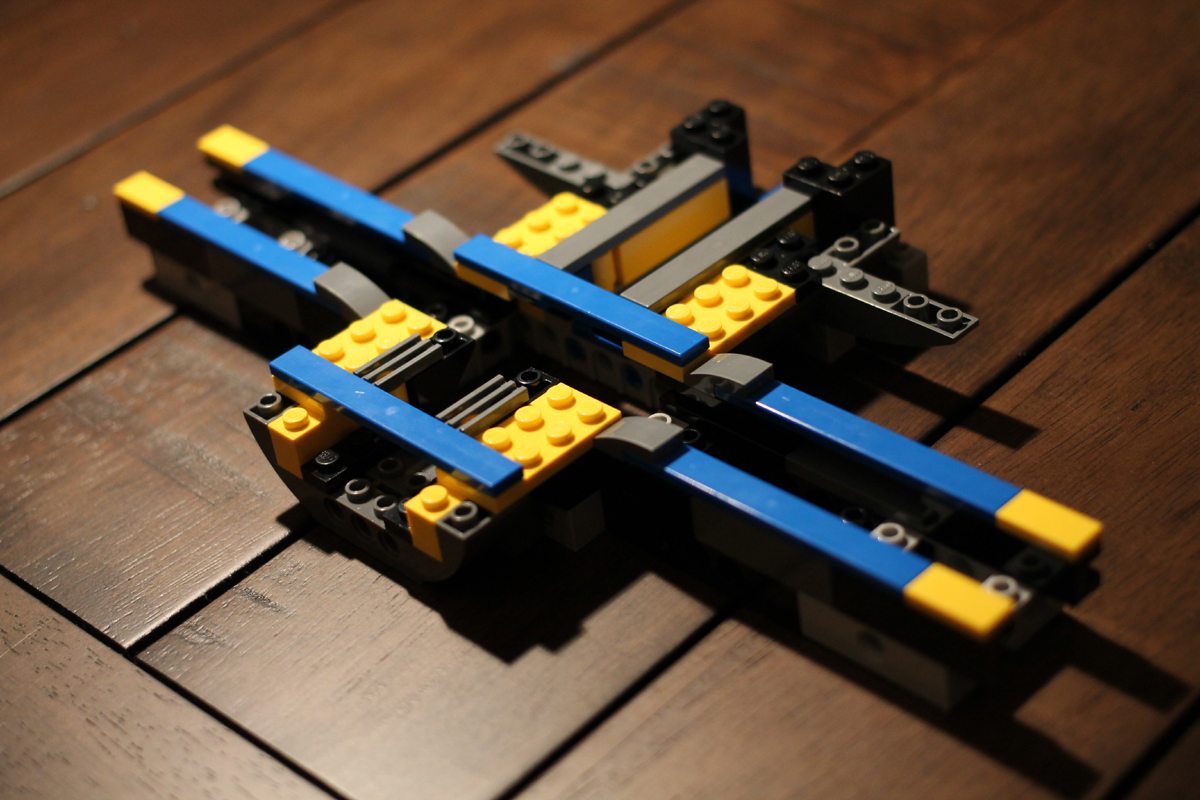
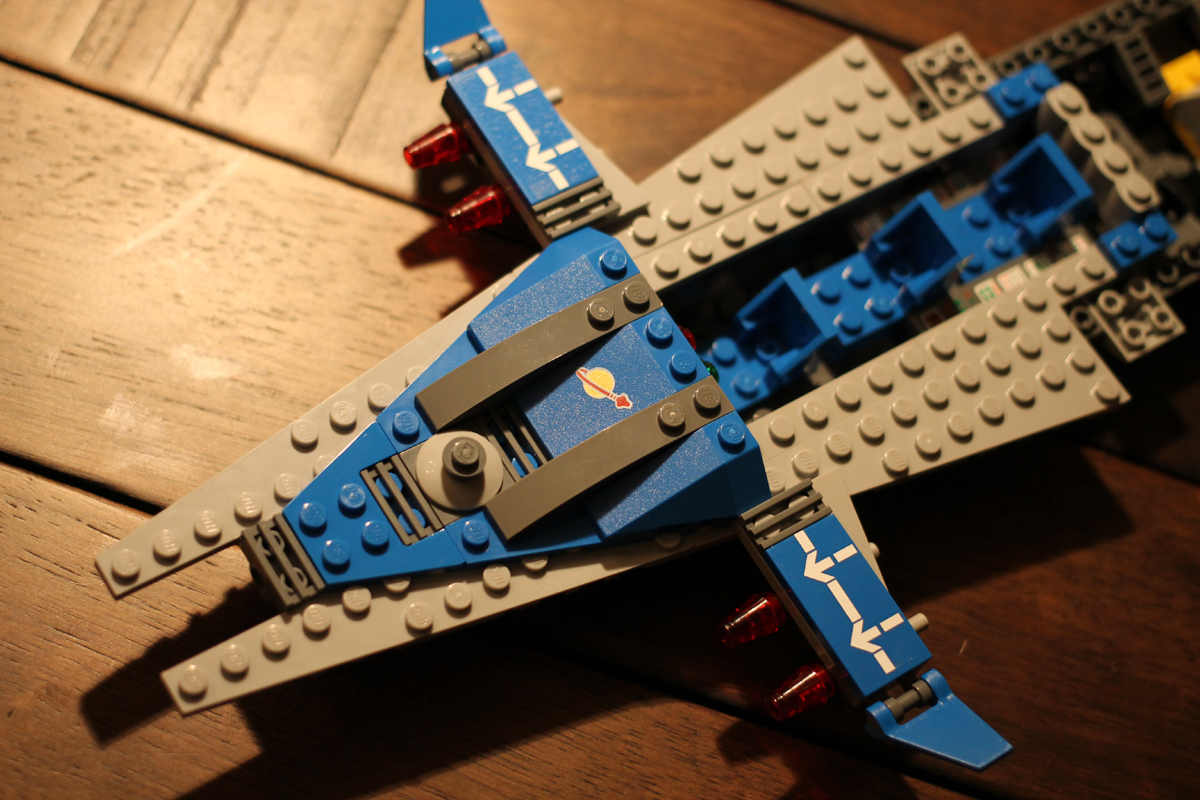
Bags #3 and #4- Finally we get an idea of the size of this thing – it’s pretty big!
Bag#3 – The front section wings and cockpit area.
Bag#4 – The rear wings and thruster which move when you push the thruster in and out.
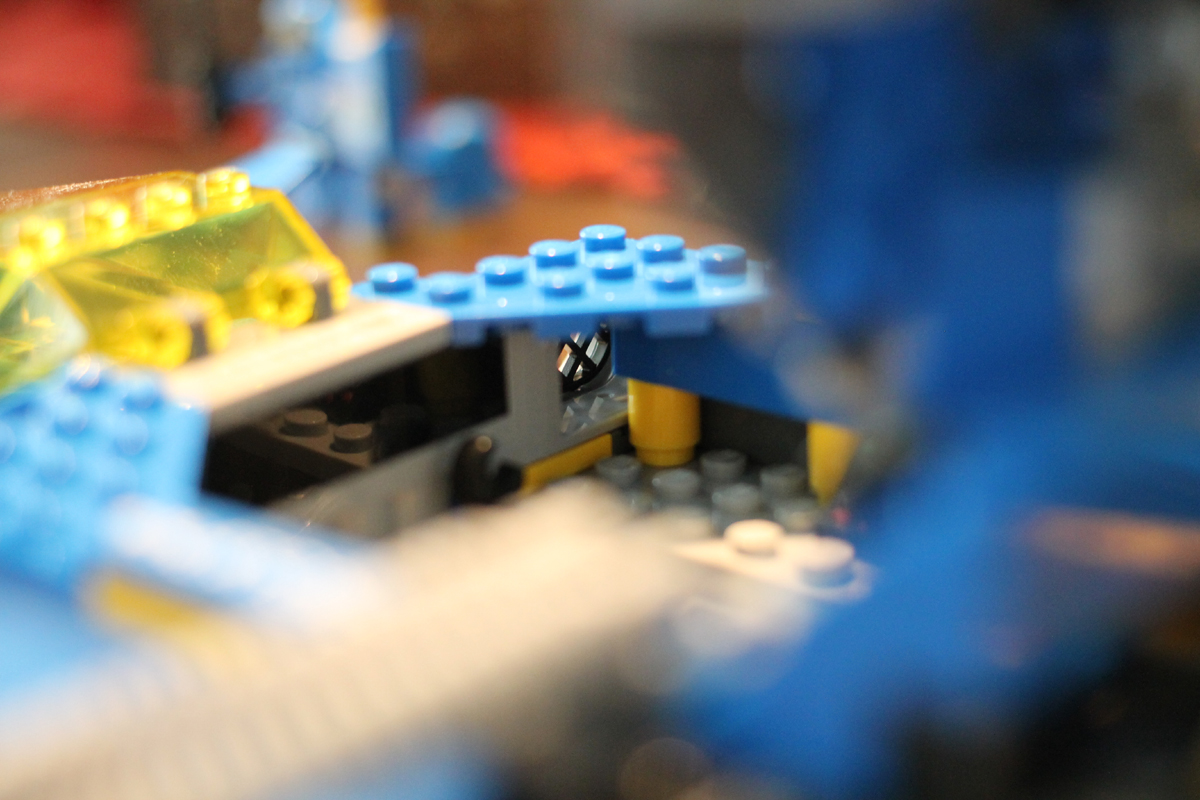
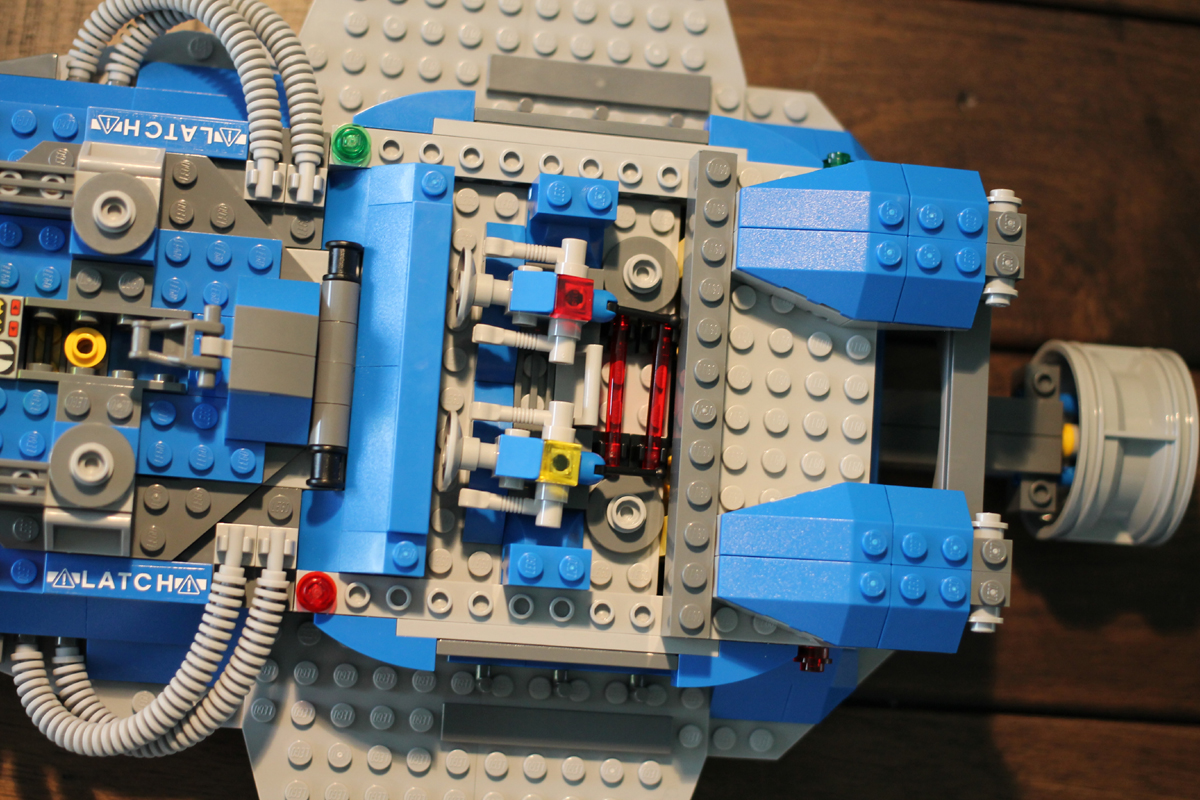
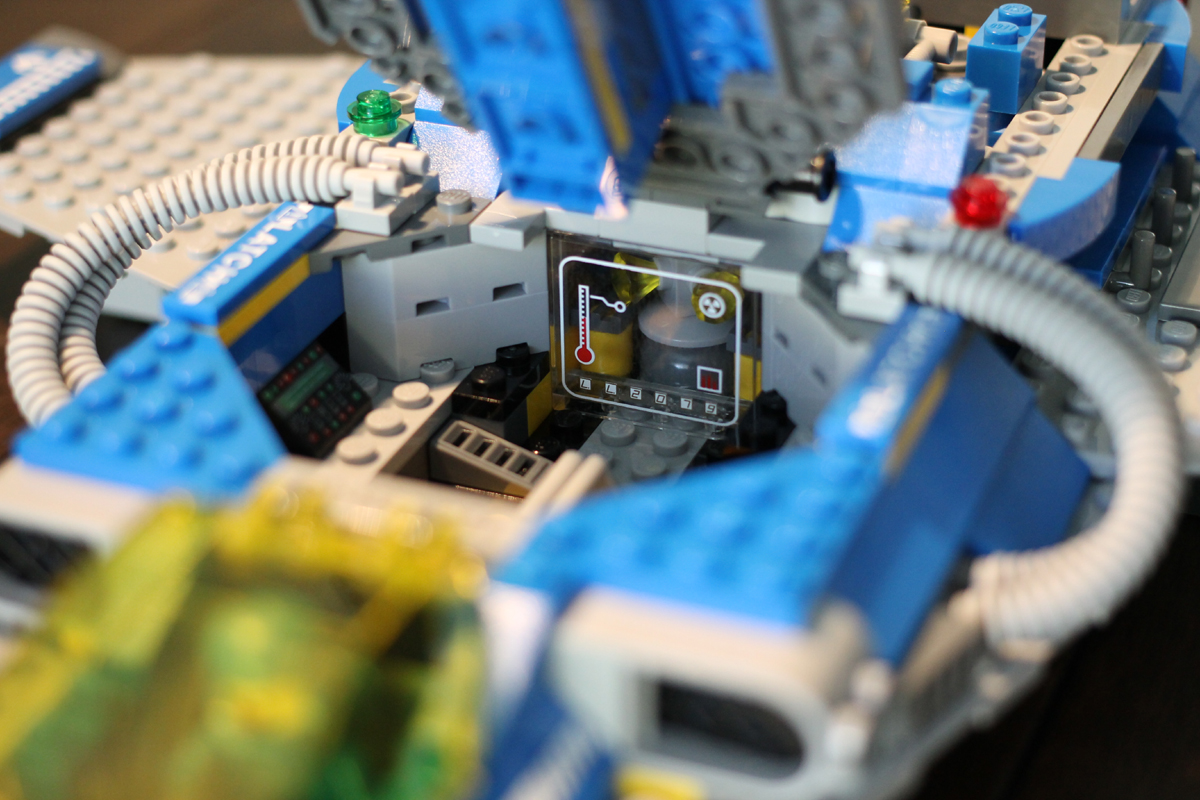
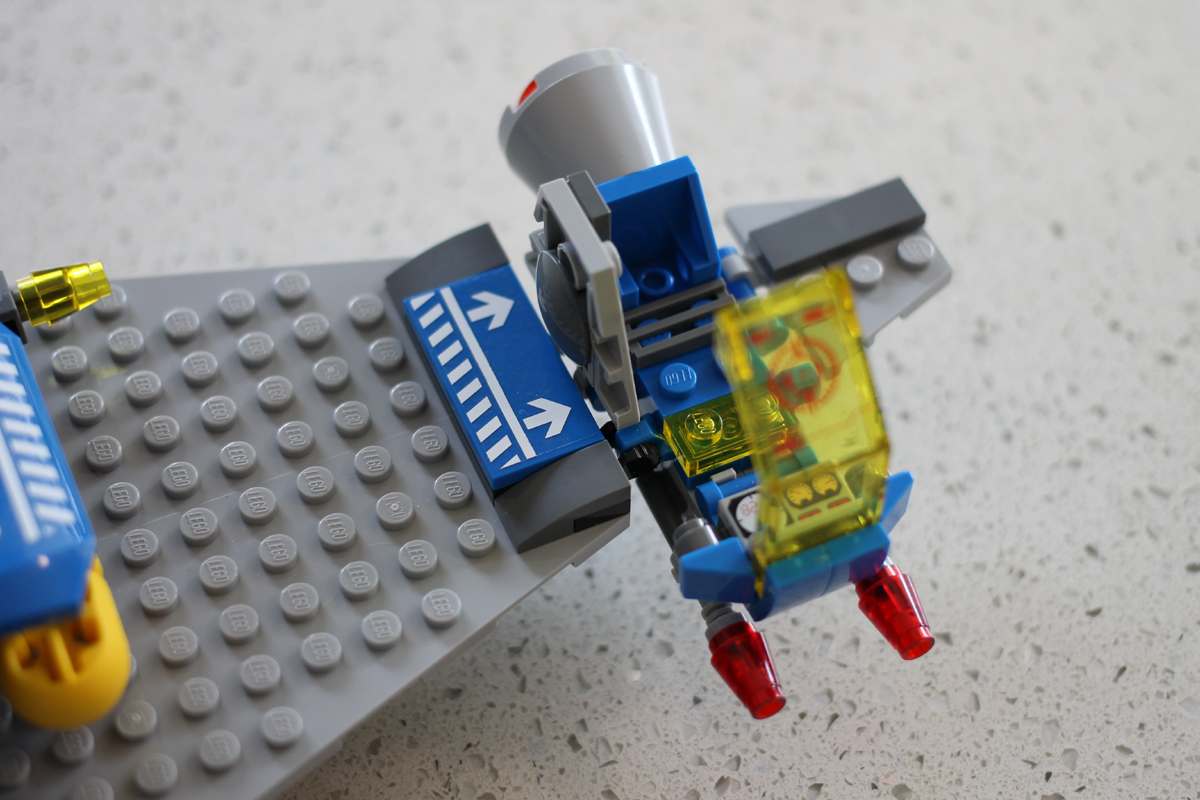
I love the little details, all the tiny parts that go into other parts. If you didn’t build it yourself you’d never know all the infinitesimal nuances that go into these models. Like the reactor here:
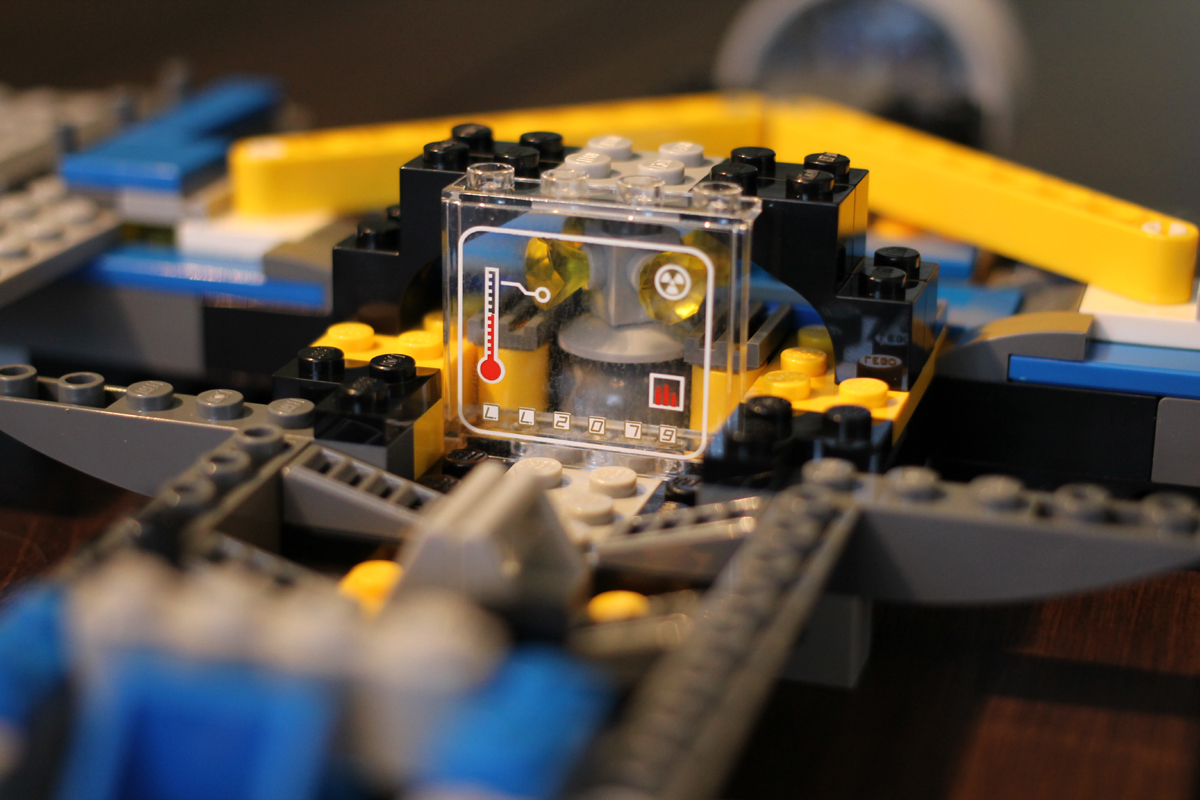
I had to put a sticker on the clear part and build the little dithium crystal looking reactor thing behind it. I am wondering how viewable this will be once it’s done.
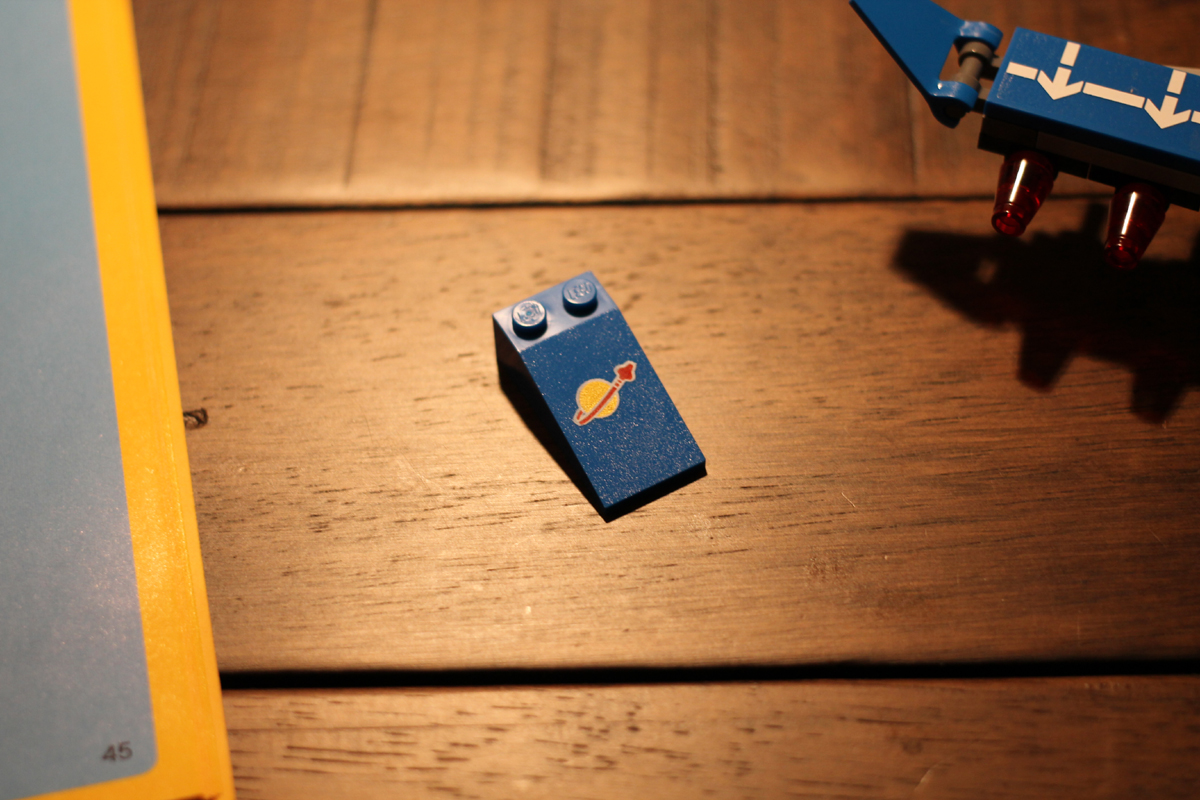
This next part, the classic blue angled wedge piece with the Space Lego logo (say that ten times fast!) on it – very nostalgic!
One thing about this kit I am not used to – there is a LOT of sticker applying to do. That was never done on the classic sets. I didn’t even do that more than a couple times on my Star Wars kits either. You need a very steady hand to get those stickers lined up right while trying not to leave finger prints on the clear adhesive side. The white arrows on the wings there are stickers.
The computer panels on the on either side of the right most blue chair are stickers also. I loved those little computer panel parts so much back in the day.
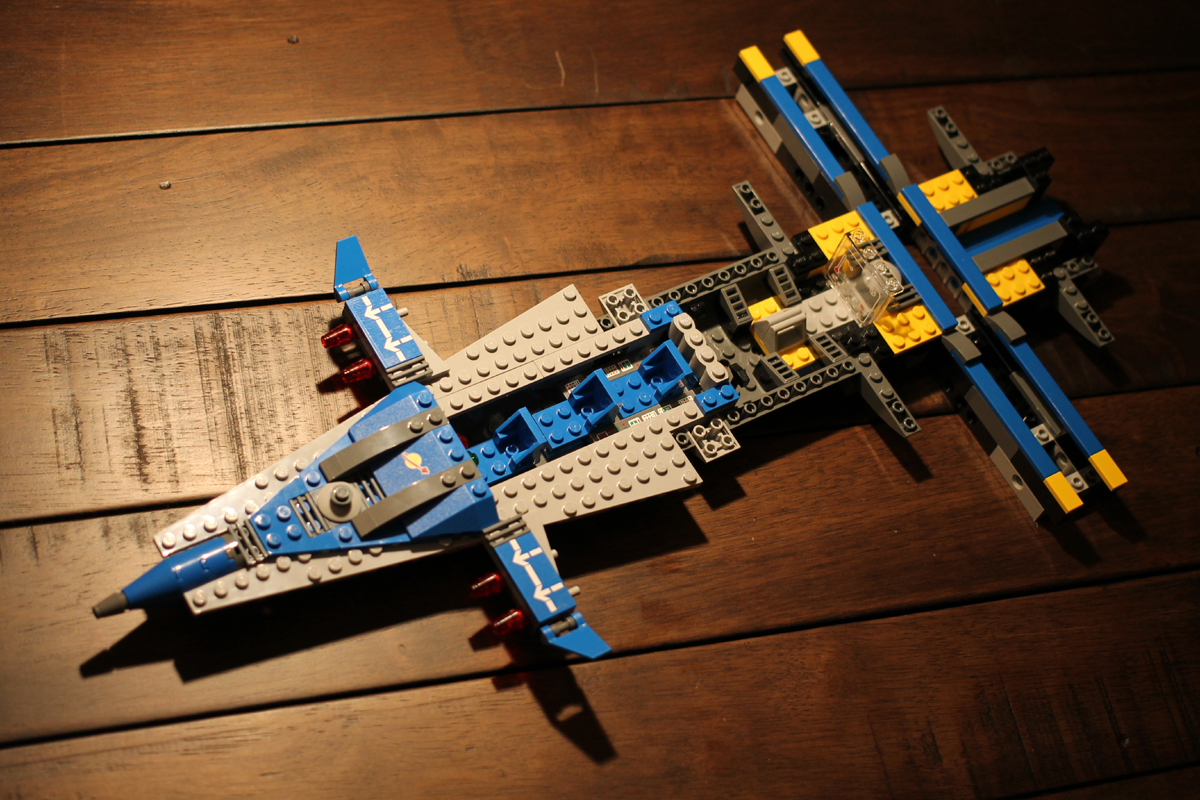
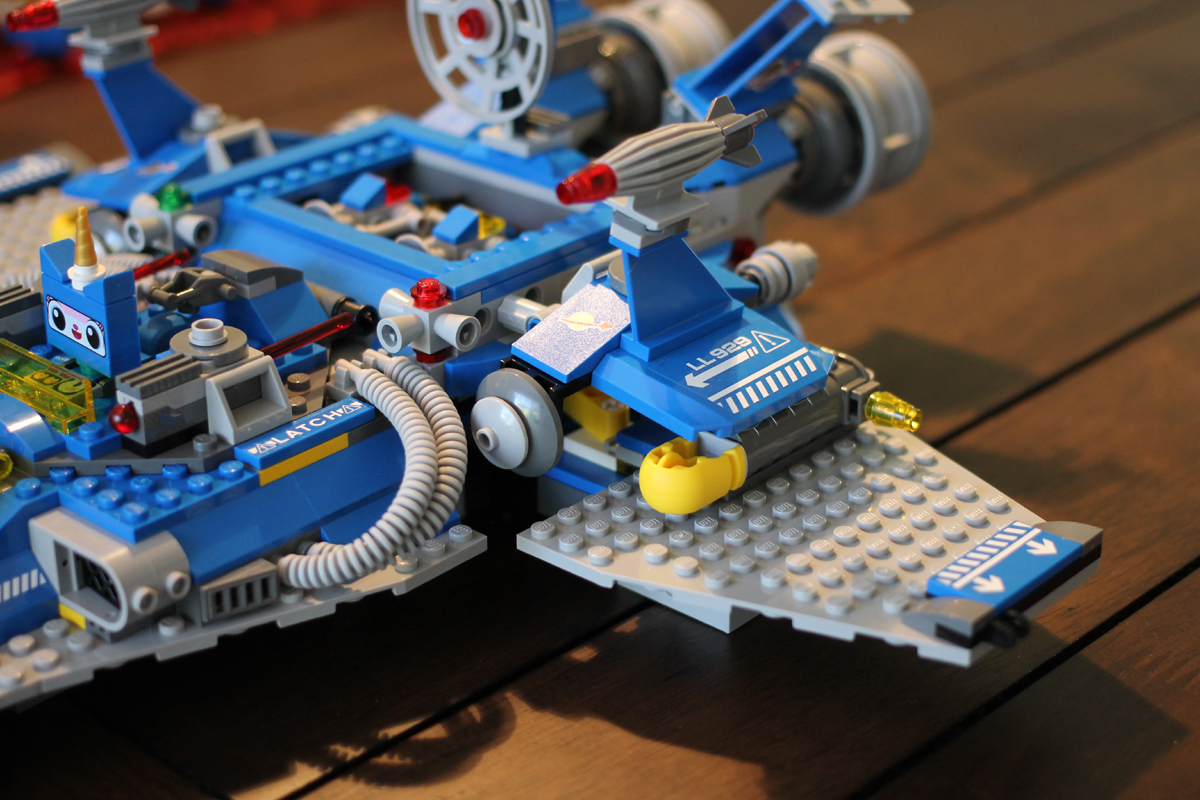
Bag#5 – Now things are getting serious, the base of the craft is done time to put awesome all over it.
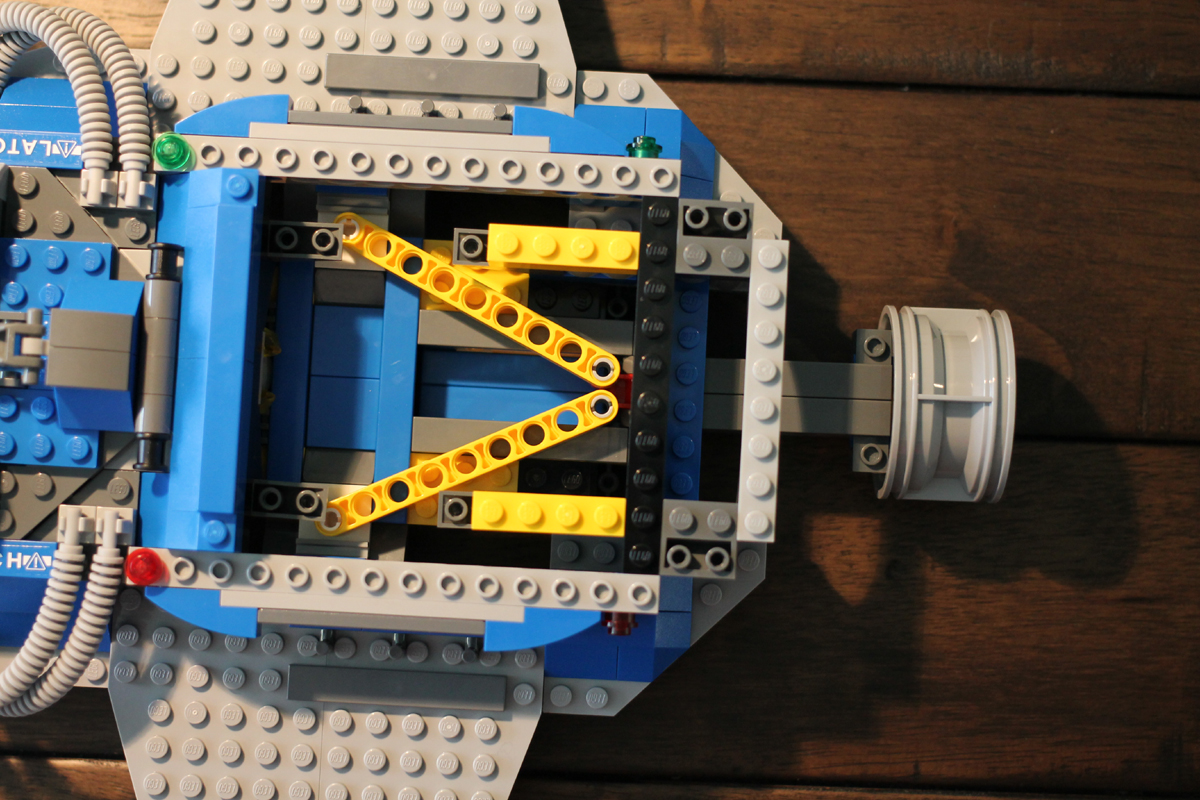
We get Space Benny and Astro Kitty as well as more ship details. There’s a hatch over the reactor area and vents to cool it that actually have a real air passage inside.

And from the inside
There’s a little light peeking through there.
The rear thruster acts like a lever to make the wings expand and collapse back in. This is with the thruster out and wings in.
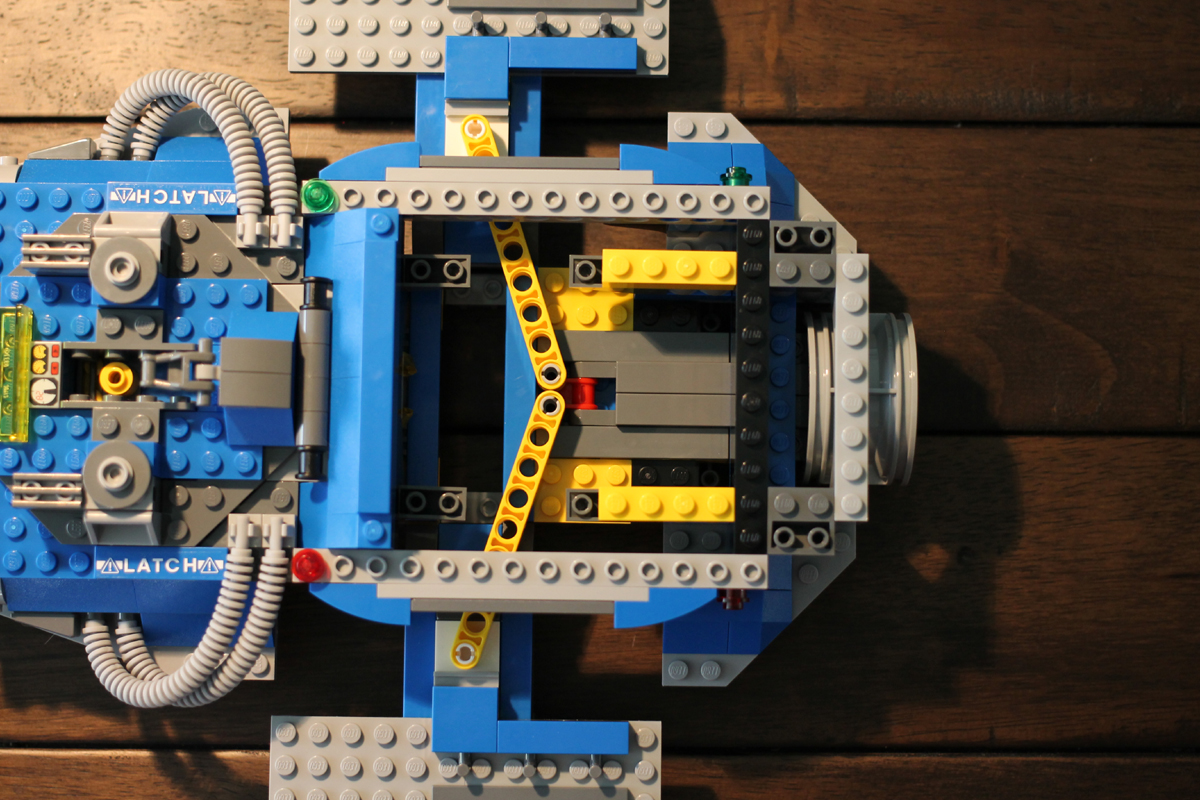
Thruster in and wings out.
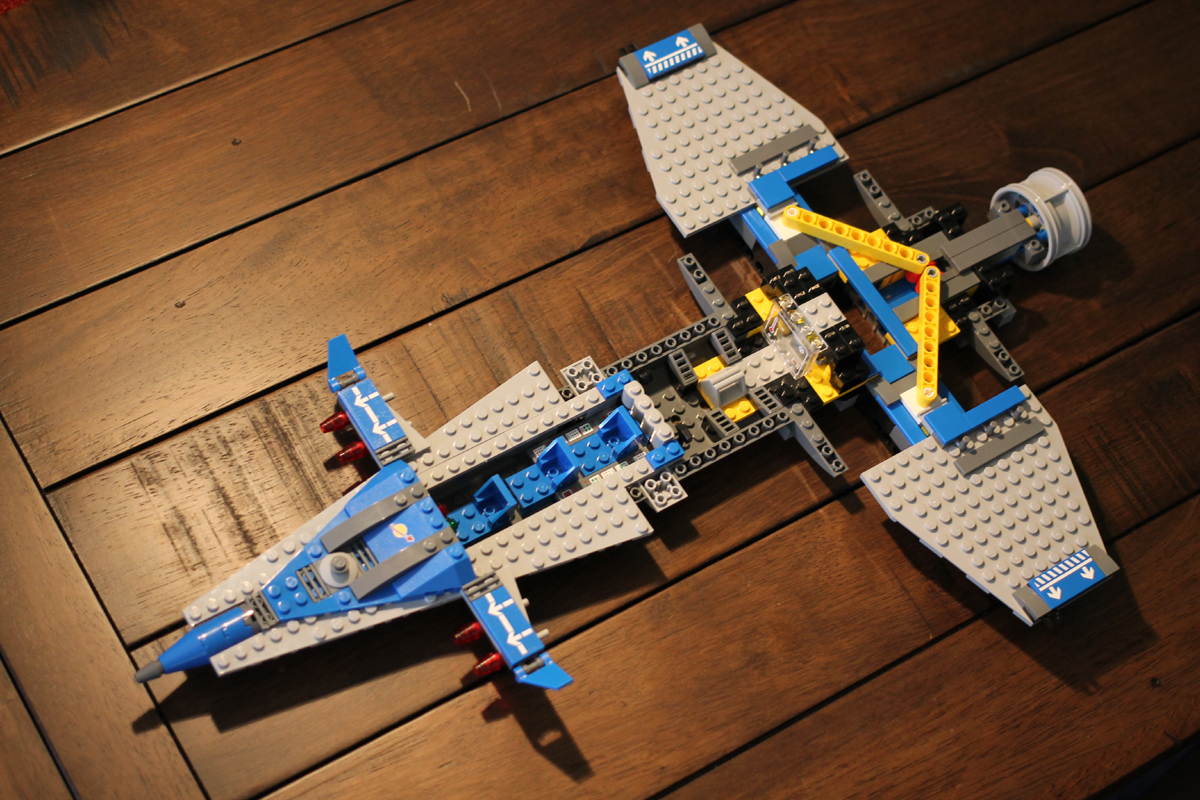
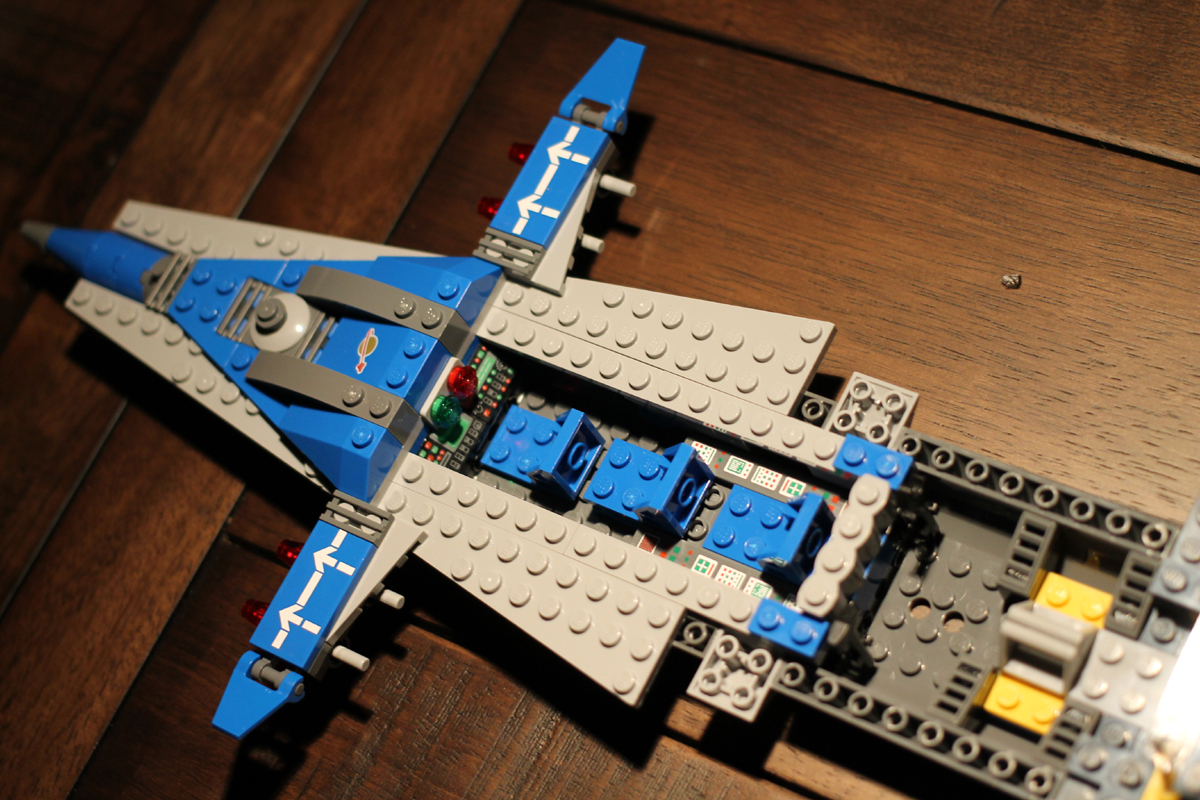
Bag#6 – Almost done. More details to the top of the ship.
The little robots in the back there come out. But a warning, their arms fall off very easily.
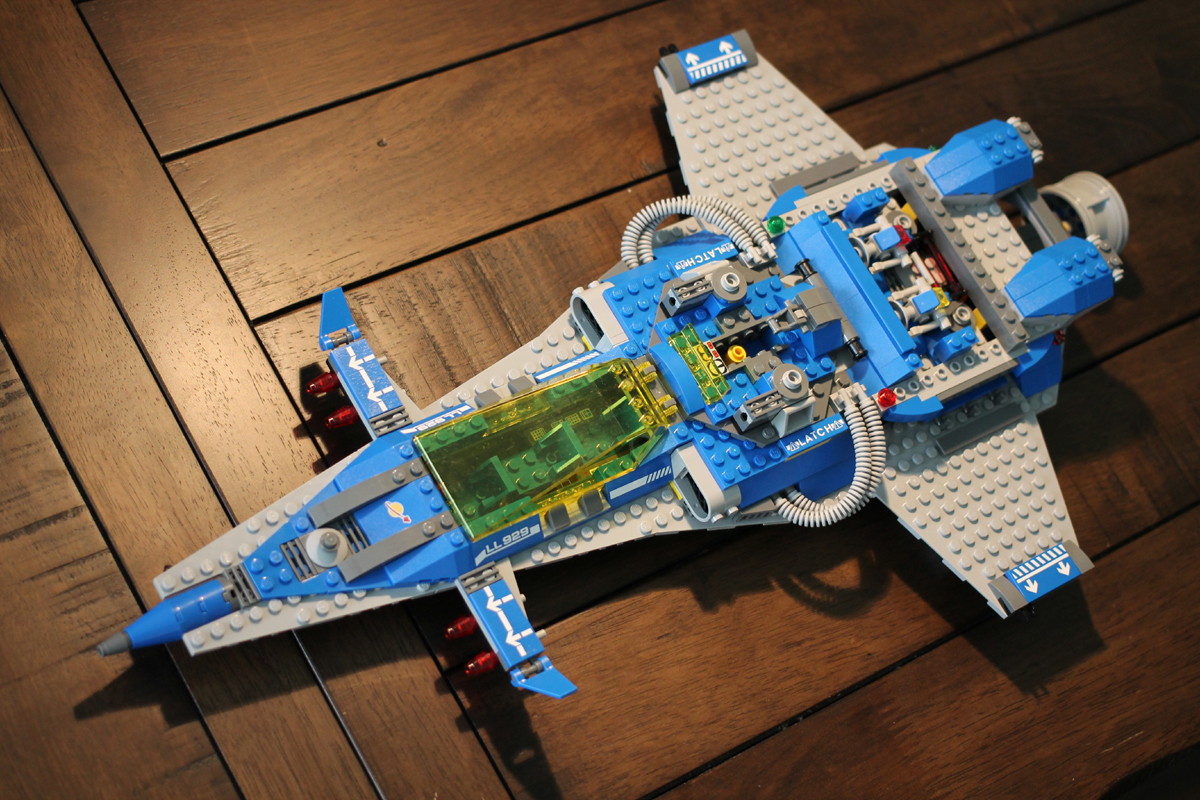
The ship is really coming together now though!
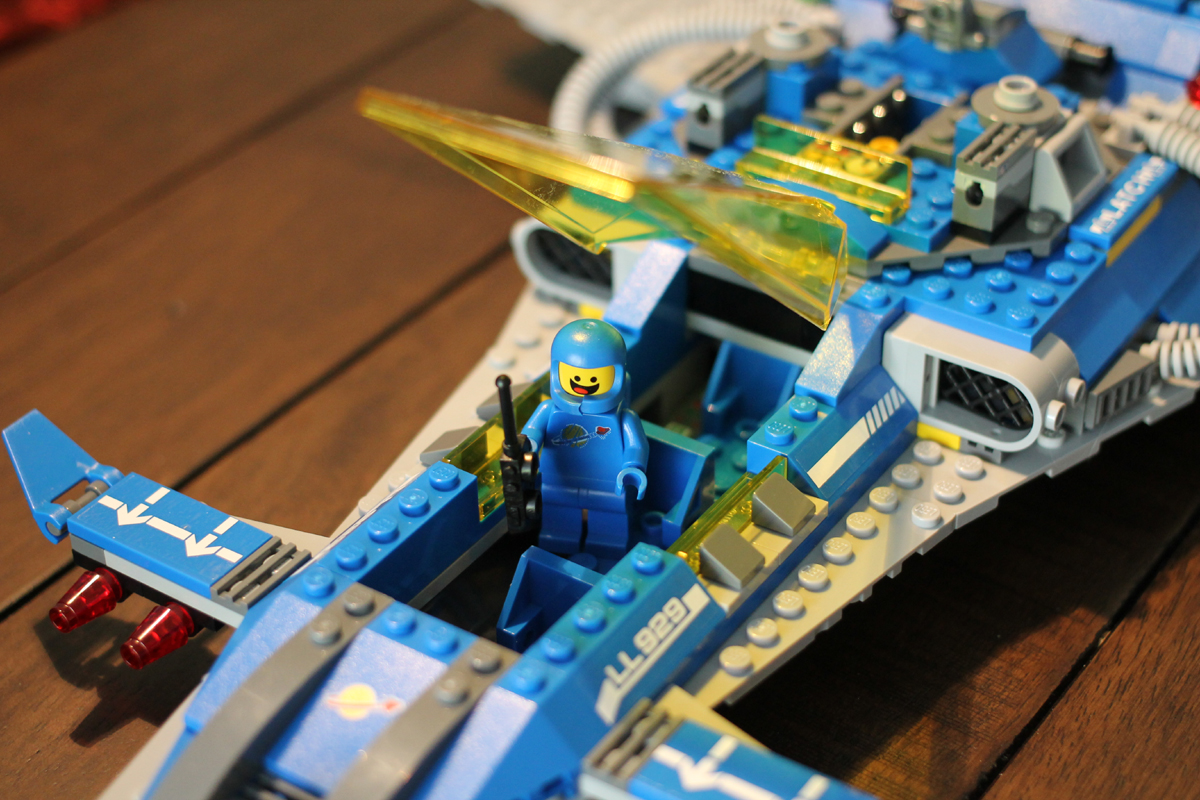
Benny is pretty enthused.
The reactor is also very visible with the little hatch up. That’s a nice touch.
OK – Bag#7 – The final chapter!
The ship looked a bit flat until this step. All the little jets and fins and radar gave it some vertical presence.
Just about there.
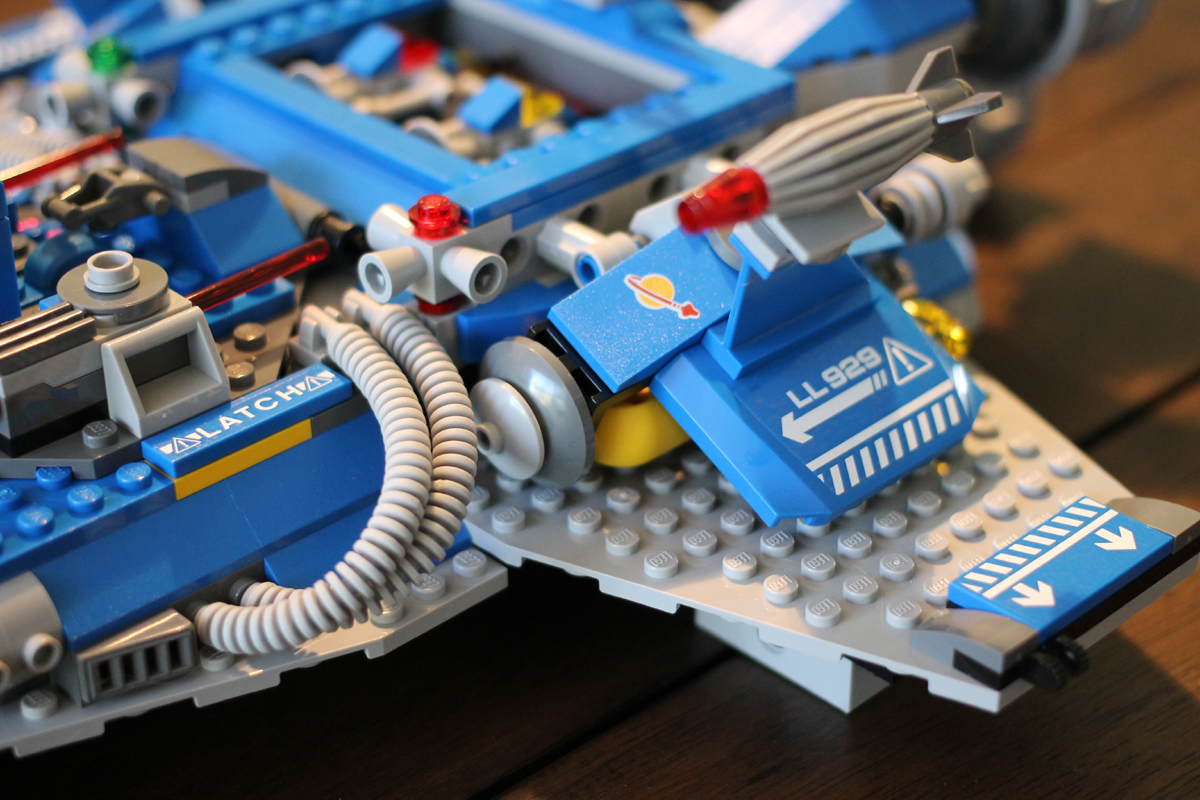
We have launch-able missiles over each wing. You have to put the wings into extended mode to shoot them though (see next pic).
Again the center rear thruster is the level that moves the wings in and out. Pretty cool!
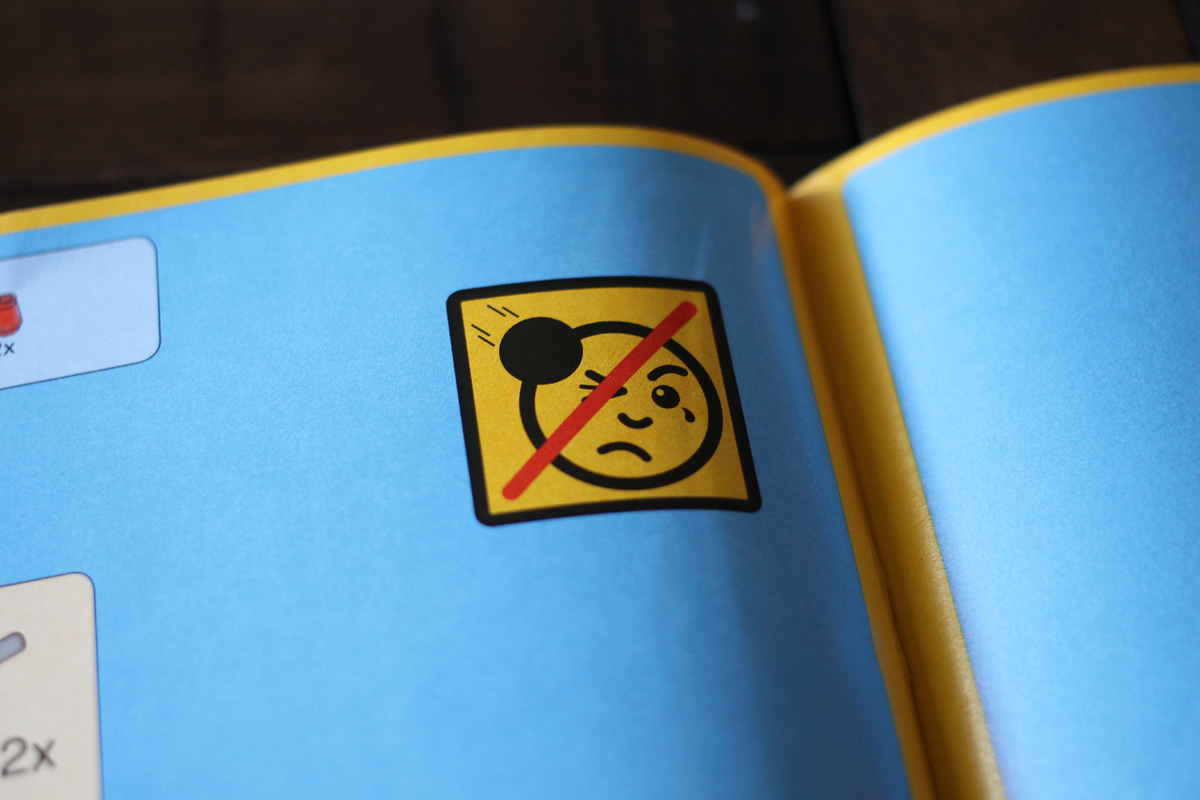
And just a reminder to be safe with the missiles, no one wants to get Lego in the eye!
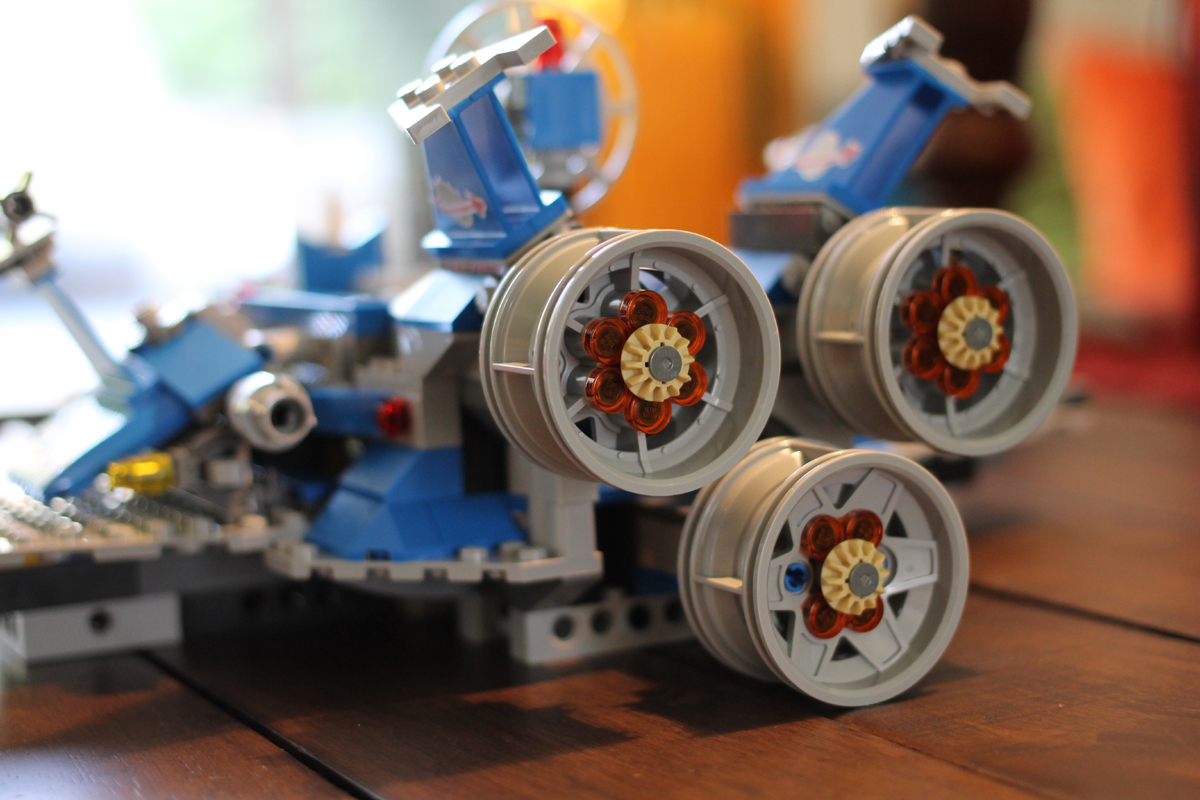
Plenty of thrusters in the rear to make it look fast! Ludicrous SPEED!!!!!
Moving to the finish line now.
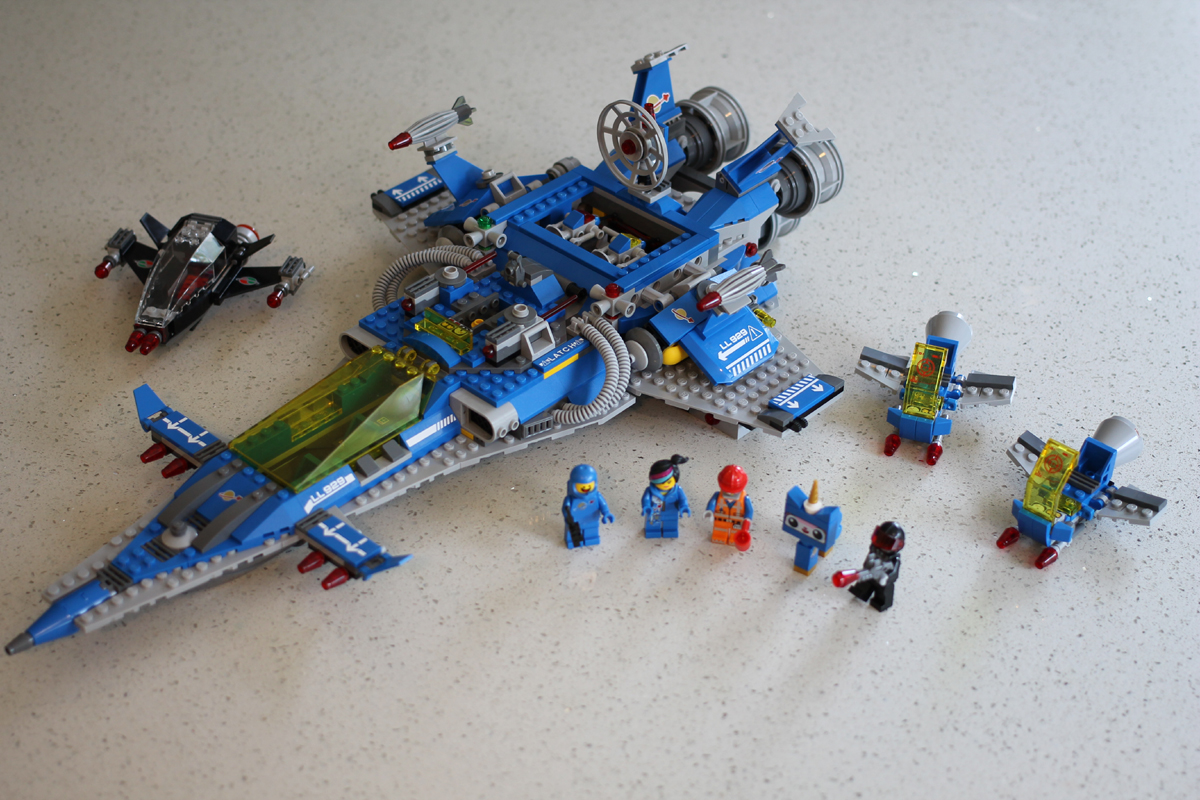
So the final step is to attach the smaller ships to the wings.
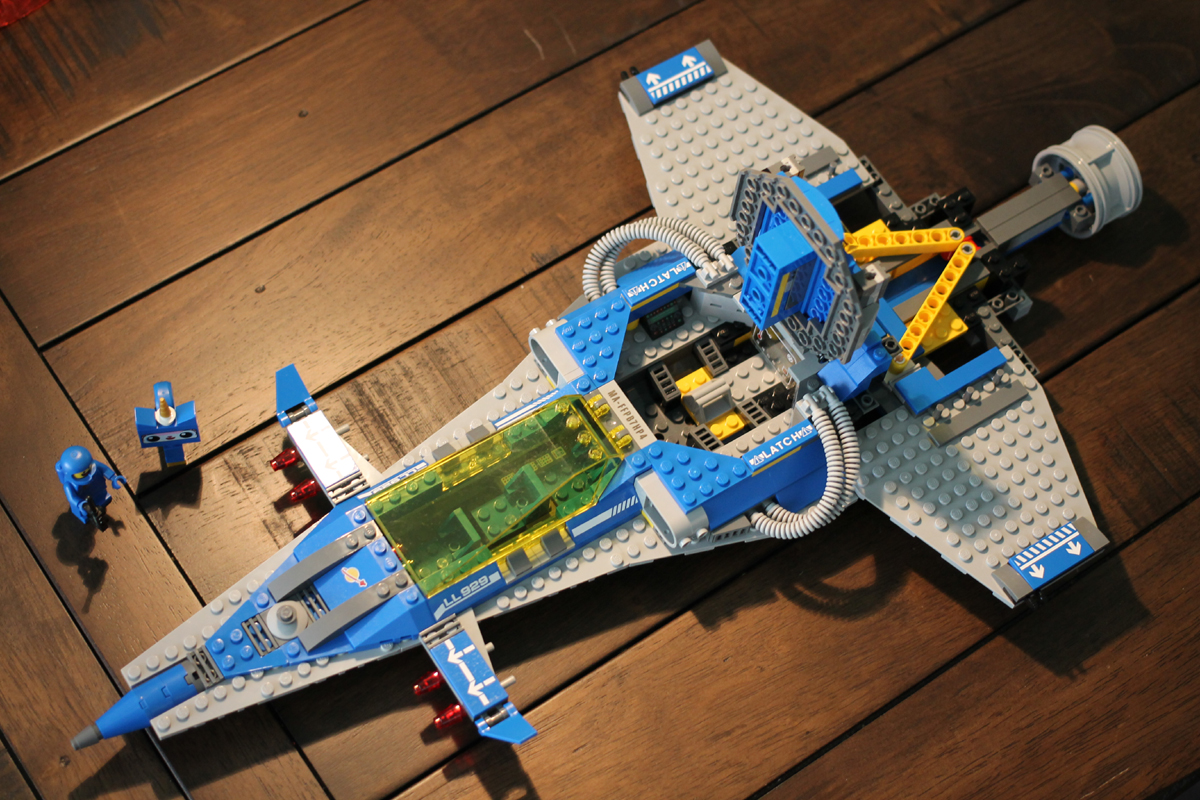
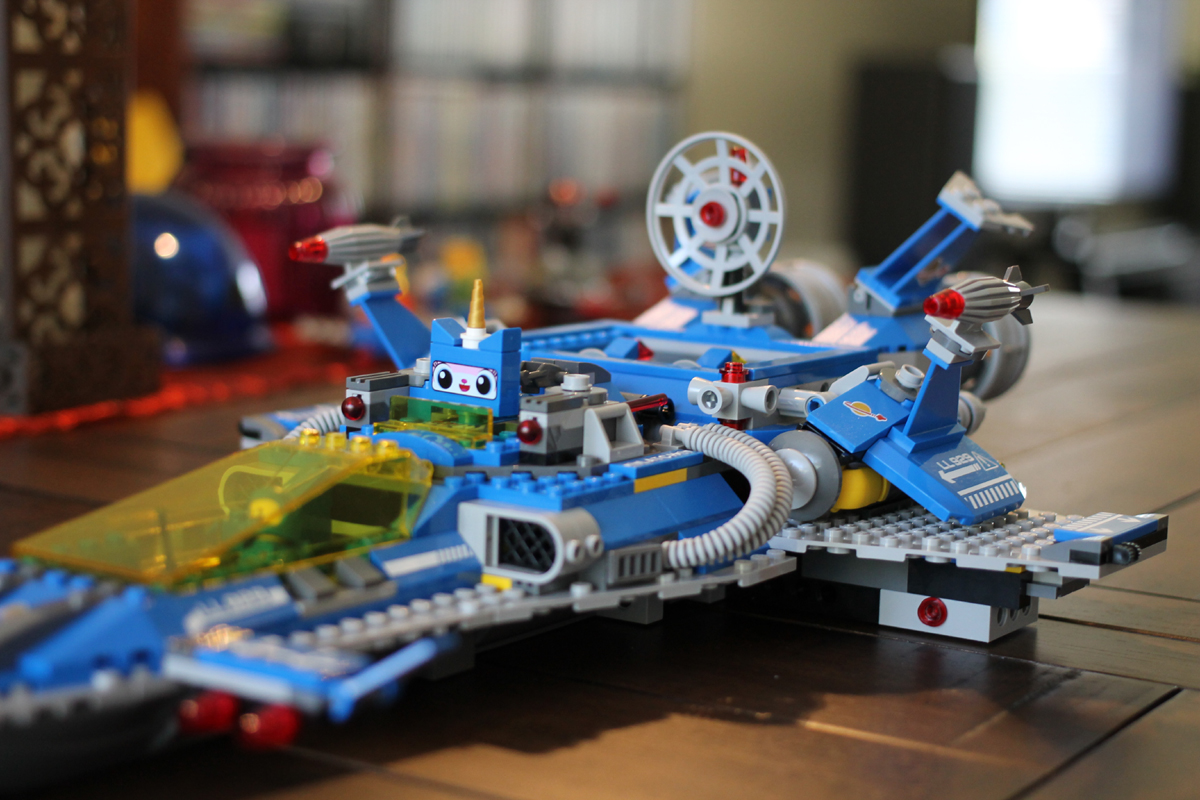
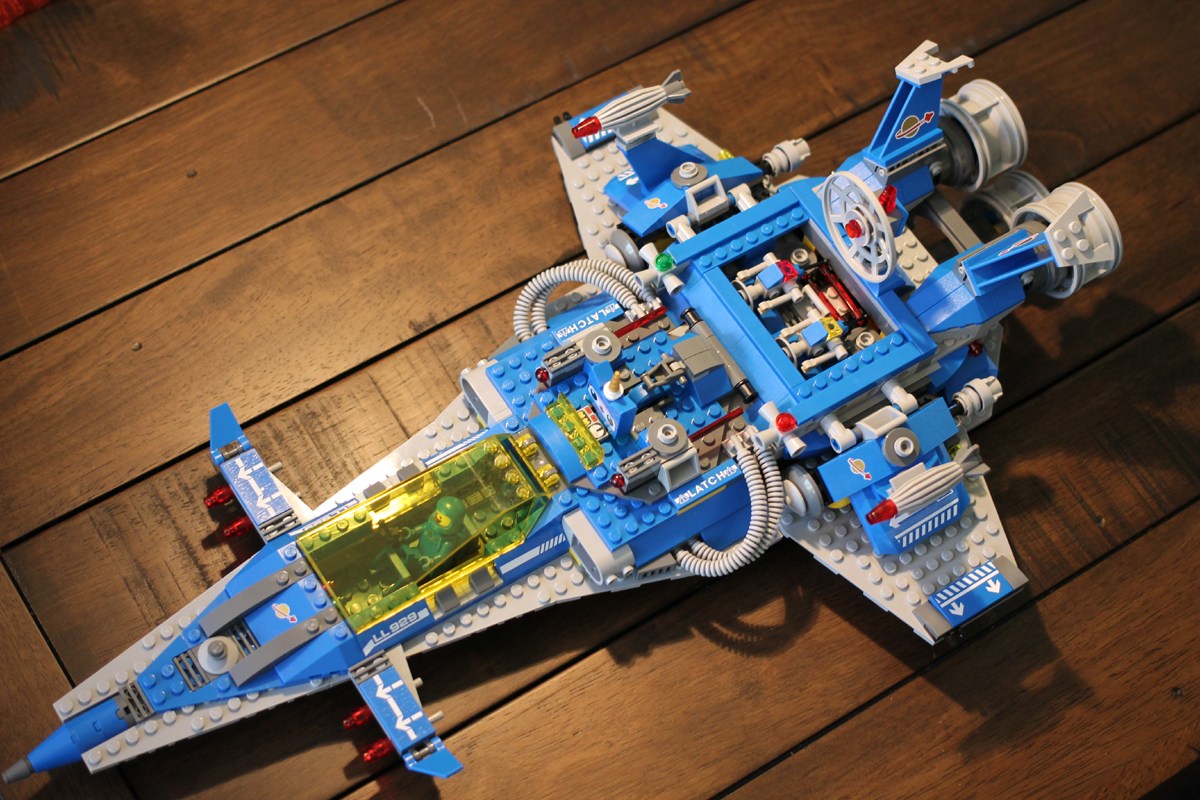
Viola!
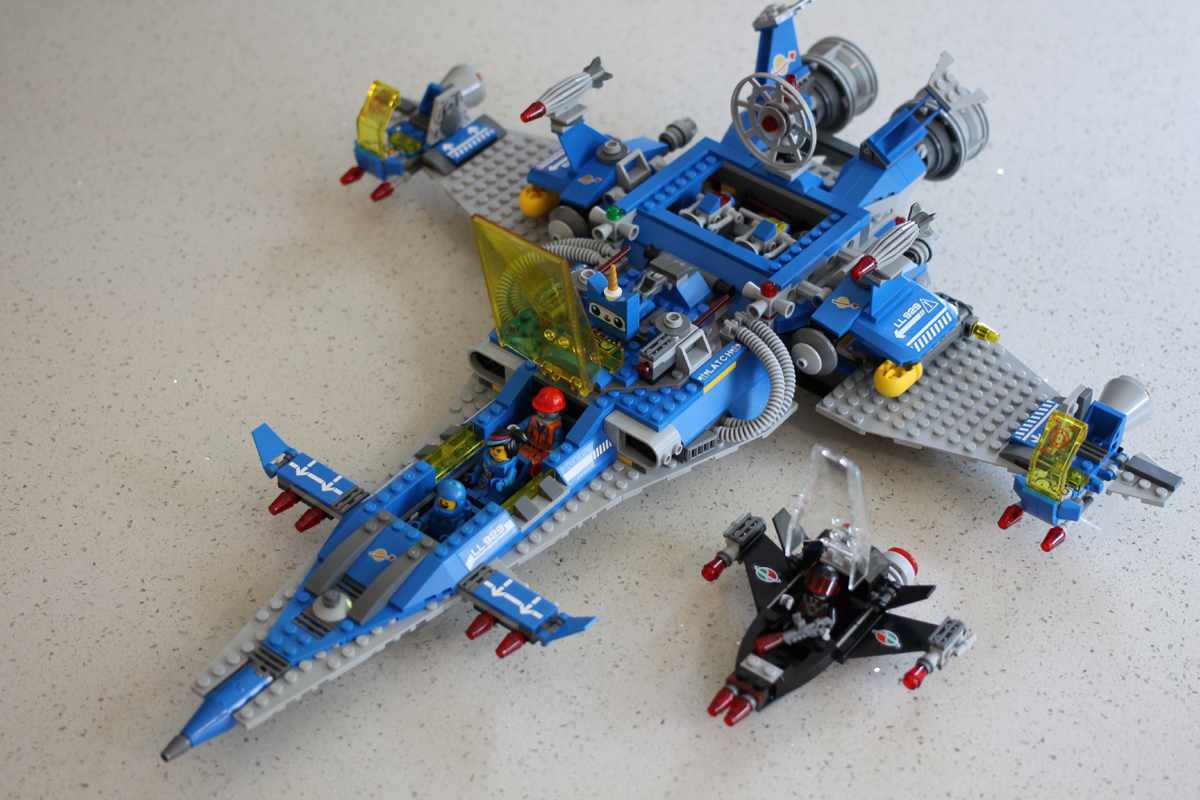
The cast. They made Benny’s figure look distressed with a simulated crack in the helmet and faded logo on his torso. I had to double take on that before I realized what was up.
And now it’s time to explore alien worlds…
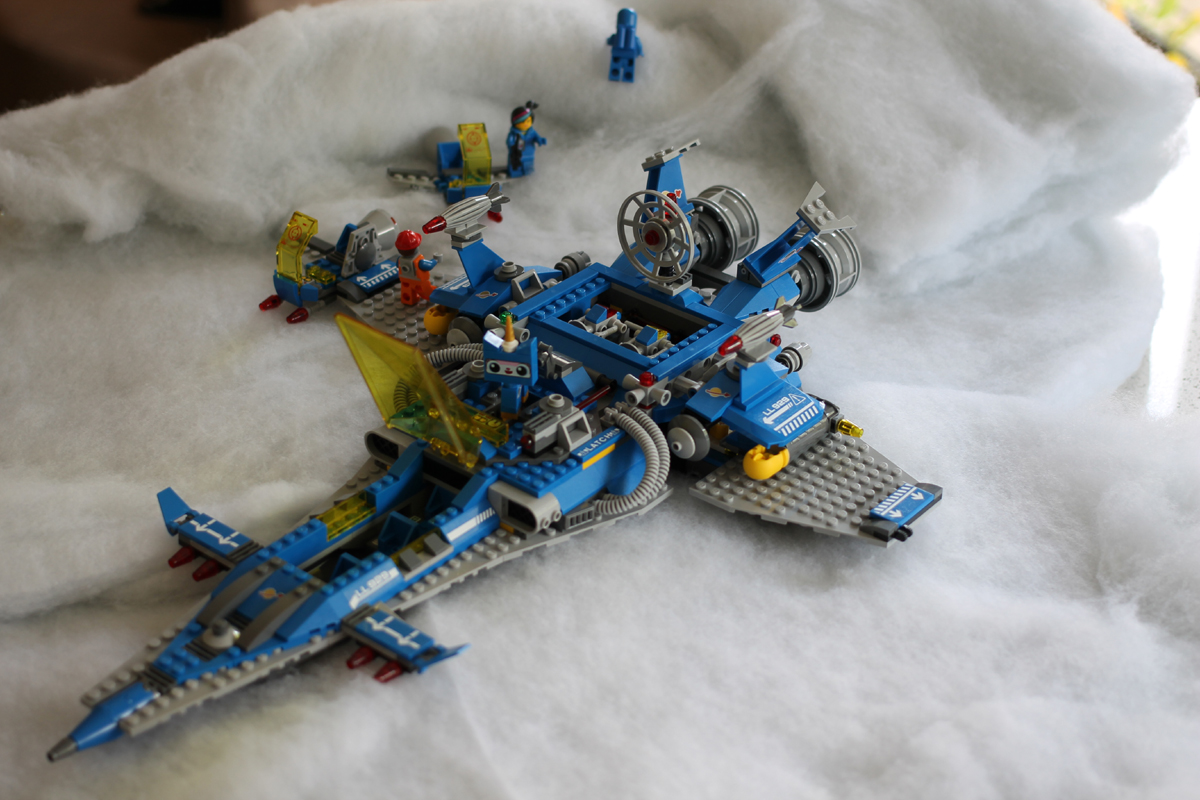
Not quite like the picture on that old manual but best I could whip up for a quick photo shoot.
So the size and durability of the finished ship. It’s large but not ridiculously big and it’s also really sturdy. It ended up being more “flat” than I thought. It has no landing gear like just about all my other Lego space ships. See here next to the Millenium Falcon (set# 4504).
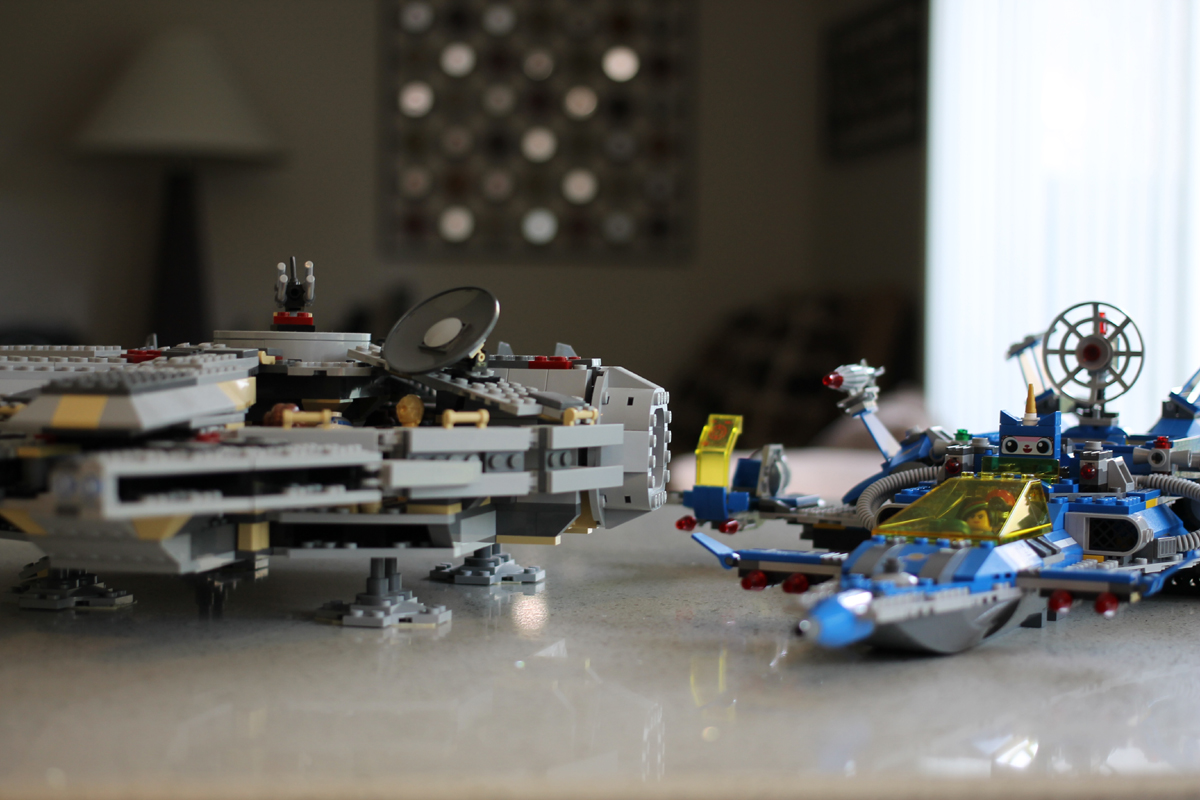
It almost looks like a boat or something. But it is very sturdy and would be fine for kids to play with “swooping” around without damaging it. The Falcon on the other hand is a very fragile model for looking only really. I had to add extra parts to the base of the Falcon kit to make it sturdy enough just to pick up without bending the whole thing. Benny’s ship is solid – no extra parts needed.

They’re both awesome in their own ways – but again for kids I would recommend Benny’s hands down for it’s durability.
I think that about wraps it up. Benny’s ship was pretty easy to build. Between the numbered bags and detailed instructions Lego did a great job with this set. The hardest part was adding the stickers to the parts that needed stickering, which was about 15-ish, and getting those stickers lined up without getting finger smudges all over them was challenging sometimes. So keep that in mind if letting your young ones build this kit. I think that’s the only mildly bad thing I can say about it. It was a real blast from the past building this. Now – where do I put it? 😉
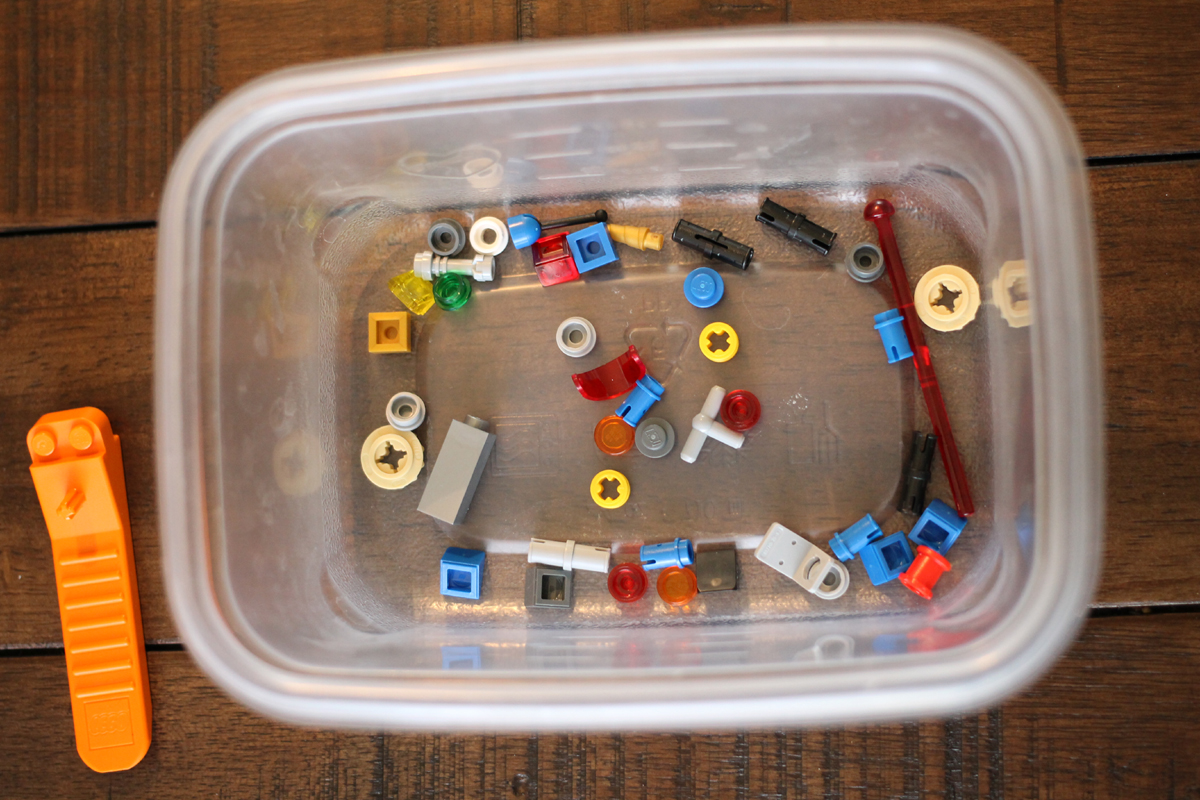
I hope you enjoyed this little pictorial journey. One last image, the leftovers. It’s nice they give you some of those easy to loose parts.
Happy building!


