Project: Home Arcade – A Living Room PC for Classic MAME & Console Gaming
MAME – Multiple Arcade Machine Emulator
UPDATE – Oct 29, 2017 – I’ve swapped out the Asus PC and Windows, replaced them with a Raspberry Pi 3 with RetroPie and I am really happy with how it turned out. You can read about the most recent evolution of Project: Home Arcade here.
For a long time, I’ve wanted to build a dedicated MAME cabinet; a homage to the arcades where I spent almost all of my time and money as a kid. The reality of the situation is I live in an apartment, so space is at a premium and I just can’t dedicate as much space as a cabinet would take. So, I’ve been eyeing small, quiet, computers for the living room, which would be dedicated to playing MAME and classic console games. But, and there’s usually a ‘but’, I wanted to keep the price for everything in-line with what typical video game console would cost. Lots of kit PC‘s1 and bare-bones
2 units themselves hit that price. However, when you add the missing RAM, CPU, Hard Drive, etc, the actual price shoots to over $500+.

ASUS VivoPC VM40B-02, front view
Asus has been putting out some nice compete mini systems under the VivoPC line for a year or so. Recently, they released the $250 VM40B-02 mini PC and it has all the makings of a very fine MAME Console. So, after some research, I headed down to the local MicroCenter and grabbed one. The VM40B is an attractive little PC. About the same width and depth as the current generation Mac Mini, but about 50% taller, mostly due to the 3.5in Hard Drive inside. The HD Access light on the front is bright and, at least to me, annoying and distracting. Replacing that with a USB port in the front would be a welcome change. In terms of sheer ascetics, Asus has made a good looking PC in the VM40B. The spun aluminum gives it a “Mac” look, without wholly ripping off the Mini.

Asus VivoPC VM40B
While the VM40B is no rocket, it is more than capable of running the classic MAME library I’m interesting in playing – 80’s and some 90’s coin-op. At the same time, it handles classic console emulators with ease as well – Atari 2600 thru Nintendo 64. Boot time isn’t fantastic, about 25-30 seconds, but, if I were to drop a faster hard drive and more RAM into it, I’m sure that would come down some.
- CPU – 1.5GHz dual-core Intel Celeron 1007U
- RAM – 4GB (2x2GB), expandable to 16GB (DDR3-1600)
- GPU – Intel HD, HM70 chipset
- Audio – 7.1 SonicMaster
- Hard Drive – 3.5in Western Digital 500GB, 5400RPM drive
- Wired Network – 10/100/1000 Ethernet
- Wireless Network – A/B/G/N/AC WiFi
- Connectors – HDMI (full), VGA, 4xUSB2, 2xUSB3, S/PDIF, Line In, Mic In, Speaker Out, SD/MCC Card Reader
- Power – 65W, external supply
- OS – Windows 8.1
While some folks might argue that I should have gone with the i3-powered VM603, it is significantly more expensive and over-kill for what I want to accomplish. If you are looking for something with enough umph to play Dreamcast, PS2 and original X-Box games, the VM60 would be an option.
Upgrade – 8/13/16: Approaching the two-year anniversary for Project: Arcade, the 30+ second boot times and general Windows slowness finally encouraged me to do a couple of upgrades on the Asus. The VM40B was slow when I got it, but the dual-core 1.5GHz Celeron is still just fast enough to be able to emulate the old 80’s games perfectly well. Even then, it is amazing what adding a SSD will do for performance. And, fortunately, Asus was kind enough to design this particular generation of ViviPC’s so that storage and RAM upgrades are straightforward and as painless as possible. Adding a $70 PNY CS22114 240GB SSD has dropped boot times from 30+ seconds to under 14 seconds. And games now load in a snap, instead of just a second or two. Upgrading from the base 4GB of RAM to 8GB of Corsair RAM
5 for $36, together with the SSD upgrade, has made every Windows operation much faster. Both upgrades have improved the overall experience of using the system, and have probably extended its life by a couple of years.

Asus VivoPC VM40B, top view
Getting inside the VM40B for hard drive and RAM upgrades is extremely easy, just flip a lock-switch on the back, then gently push the top cover back and, viola, you are in. Niceties include rubber pegs holding the hard drive to the chassis, to prevent vibration. The Asus is very quiet, barely audible even when running by itself. In my experience so far, the top never gets hot, but you can feel warm air coming out of the bottom vents – be careful when picking it up after it has been on for any extended period of time.

Asus VivoPC VM40B, rear panel
Surprisingly, and it’s sad to have to say that – not just for Asus, but any PC maker – the VM40B is delightfully light on the bloatware. There are just a few items which are easily, and permenantly, removed through the standard Windows uninstall process. Hopefully this is a trend. Windows 8.1 is, well, not horrible. I’m a Mac-fan, but, I’ll be honest, I think the “Metro” UI has promise, especially in touch-enable devices and on TV’s/Living-Room enviorments. Speaking of how the user interacts with the system, the VM40B does come with a wired keyboard and mouse. They are both of passable quality, but, since this is meant to be a “console” PC, I needed something simple and wireless.
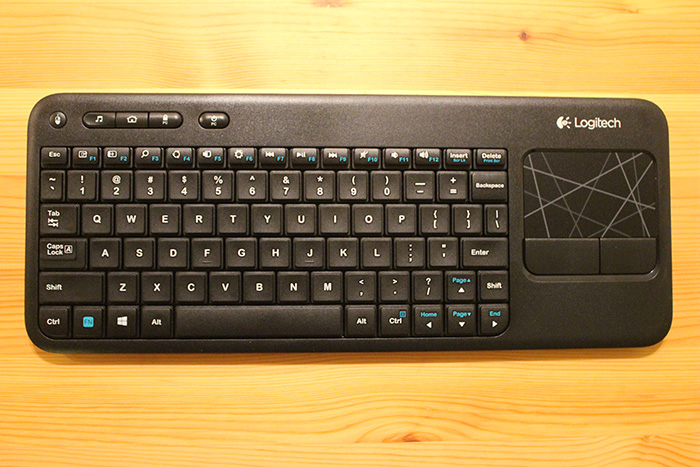
Logitech K400 Keyboard/Mousepad
Luckily, MicroCenter was selling the Logitech K400 wireless keyboard/mouse-pad combo units for $30 when I went in for the VM40B. It’s small, but not too small – the keys are full-sized and don’t feel too mushy. I sit out a couch about 10 feet away from the computer, and have not had any range or drop-out issues with the K400. While it is cheap, the K400 is still a well-made Logitech product, and great for a Windows-based living room/HTPC.
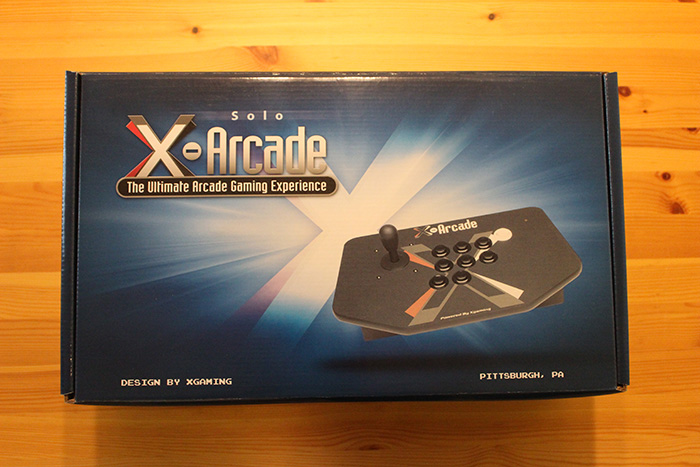
X-Arcade Solo joystick
For MAME/Classic-Arcade games, there’s only one way to go for a controller. X-Arcade has long been known for high-quality ‘fighting’ and coin-op inspired joysticks. While I had never owned one personally, several of my friends – including DJ – have and rave about them. At the time, the X-Arcade Solo joystick was on sale for $50. And, while shipping fees are a killer on this thing, because it weighs so much, I picked one up.
Update – 3/5/2017 – X-Arcade has discontinued the Solo joystick in favor of their dual joystick units. Frankly, the Solo – while a top quality arcade stick – is an unfair advantage, unless you have two, when gaming head-to-head with friends. Upon reflection, I should have bought their Dual Joystick or the TankStick.
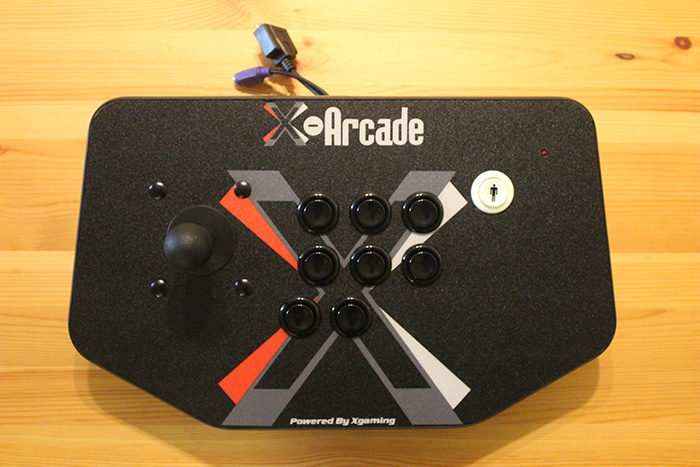
X-Arcade Solo, top view
11 inches from side-to-side, and weighing 12 pounds, the X-Arcade Solo is a serious piece of hardware. The buttons are made of high-quality materials and give a satisfying ‘click’ when pressed. The stick itself is also well-made, and moves smoothly, with a light tactile and barely audible ‘tick’ when hitting certain positions. In spite of the heft and bulk, I found extending playing sessions with the X-Arcade Solo sitting in my lap as I reclined, to be comfortable.
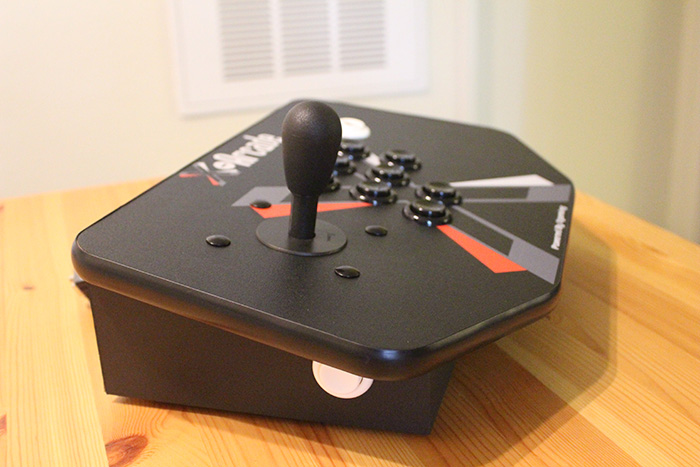
X-Arcade Solo, left side
When X-Arcade says their joysticks are “build like tanks”, they aren’t kidding. The Solo is a solid piece of equipment that screams quality at the same time. Frankly, $50 is a steal for something like this. I’ve seem far inferior fight and arcade joysticks sell for much, much more. You will get two sections of cable, for a total of about 6 feet in length, with your X-Arcade Solo joystick. If you are going to use it from a longer distance, you will need to get a USB extension. I’m very happy with the X-Arcade Solo so far, it makes playing classics like Pac-Man or Donkey Kong feel more authentic while being more responsive.
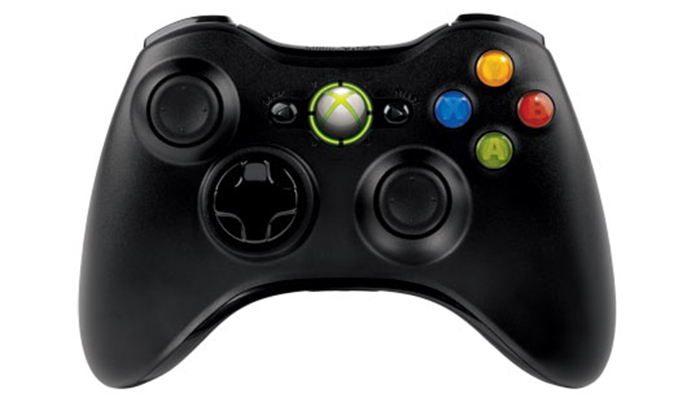
XBox360 Wireless Controller for Windows
As for the ‘classic console’ part of the controller equasion, I found the excellent X-Box 360 Wireless Controller for Windows on sale at Fry’s. Featuring long range and a sturdy, comfortable build, it’s the perfect controller for old-school sessions of Atari 2600, ColecoVision, NES, Sega Genesis, SNES, and Nintendo 64 gaming.

Maximus-Arcade front-end UI
Bringing the entire experience together is the Maximus-Arcade software. Basically, it’s like iTunes for your ROMs and a is great way to browse through your collection. While I found the set-up process to be a bit of a pain, the end result was totally worth it. A simple, elegant UI, that navigates through your ROM’s, by system. While the UI is designed with a MAME cabinet in mind, it works very well as a ’10ft interface’ on the TV. Normally the Maximus-Arcade software is a very fair deal at $25, I was able to get it free with the purchase of the X-Arcade Solo. As such a critical part of the experience, I hesitate to think of how the project would worked without it. Seriously. No one wants to navigate, from 10+ feet away, a bunch of menus and fonts designed for a much smaller monitor sitting just 2 or 3 feet away.
So, how much did the project cost?
$250 – Asus VivoPC VM40B-026
$70 – X-Arcade Solo Joystick + Shipping
$45 – X-Box 360 Wireless Controller7
$30 – Logitech K4008
$0 – Maximus-Arcade software (Regularly $24.99)
——————————————-
$395 – Total
All-in-all, basically the same price as a PlayStation 4 and $100 less than the full XBoxOne package. Right in range with my “no more than a current gen console” budget. The Asus VM40B, while no speed-demon, has more than enough horsepower to do all the things I want. And it has enough expansion potential for me to squeeze out a little extra speed, if necessary. So far, that hasn’t been the case. The X-Arcade Solo is an awesome controller, and it reminds me of how those old Golden-Era games used to feel. The XBox360 controller handles to classic console work perfectly. The Maximus-Arcade software ties it all together, and makes the experience of using the system simple and pleasurable. I’ve been playing with this setup for about a week now. I’m still using the PlayStation 4 a lot, but it has been a total blast playing old-school games on the big screen with the sweet sound system.
This has been a very fun and successful project. If you are considering your own MAME project, hopefully this will give you some ideas on what you can do. Now, time to dream up the next project.
Update: 04/14/15: With 8 months experience, I’ve added some thoughts on how this project turned out.
UPDATE – Oct 29, 2017 – I’ve swapped out the Asus PC and Windows, replaced them with a Raspberry Pi 3 with RetroPie, and I am really happy with how it turned out. You can read about the most recent evolution of Project: Home Arcade here.


After you have built all of this, where do you find the games at to load onto the PC?
Hi,
I have bought a VIVO VM40 to run mame in my arcade cabinet, and I have to admit I am fairly disappointed. It is way too slow to run mame in d3d mode (although it is ok in ddraw mode). This means no scanline (HLSL), no filtering, and so on.
I have to find another solution 🙂
Cheers,
Hi there,
I agree, if you are looking to emulate 3D games and systems, the VM40 isn’t going to have quite enough horsepower. Depending on what you want to emulate, you may need to consider something with a dedicated GPU. If you are building a cabinet system, you’ll probably get more bang-for-your-buck with a small system you build, rather than an off-the-shelf one.
Hope you get your build performing satisfactorily and are having fun soon!
Any updates on this MAME buid? Would like to know if you still use it or if any upgrades were done.
Hi Jose, that’s a great question. The short answer is that I do still use the system, and I have not done any hardware upgrades. However, upon reflection, there’s a few things I might change. I’ll follow up soon with more a more detailed post-mortem.
04/14/15 – http://geekometry.com/2015/04/project-arcade-8-months-later/